A modern marketplace platform for students to buy and sell study notes. Built with Next.js 16, TypeScript, and MongoDB.
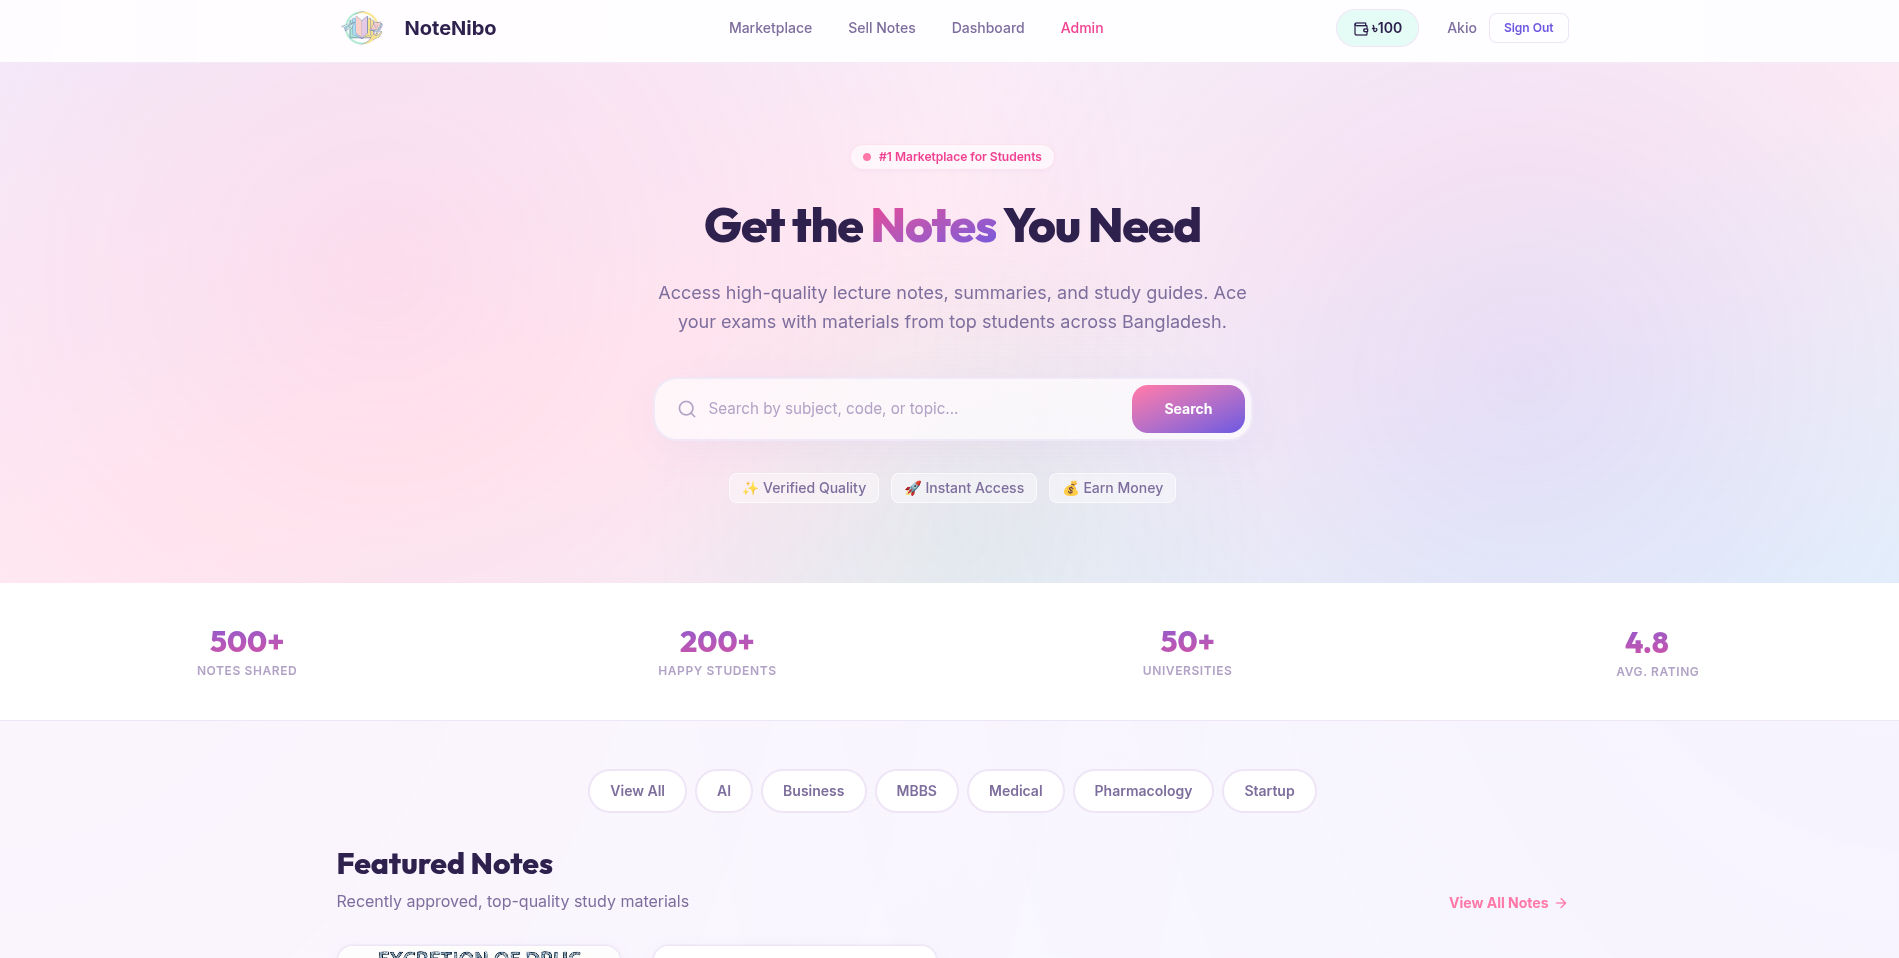
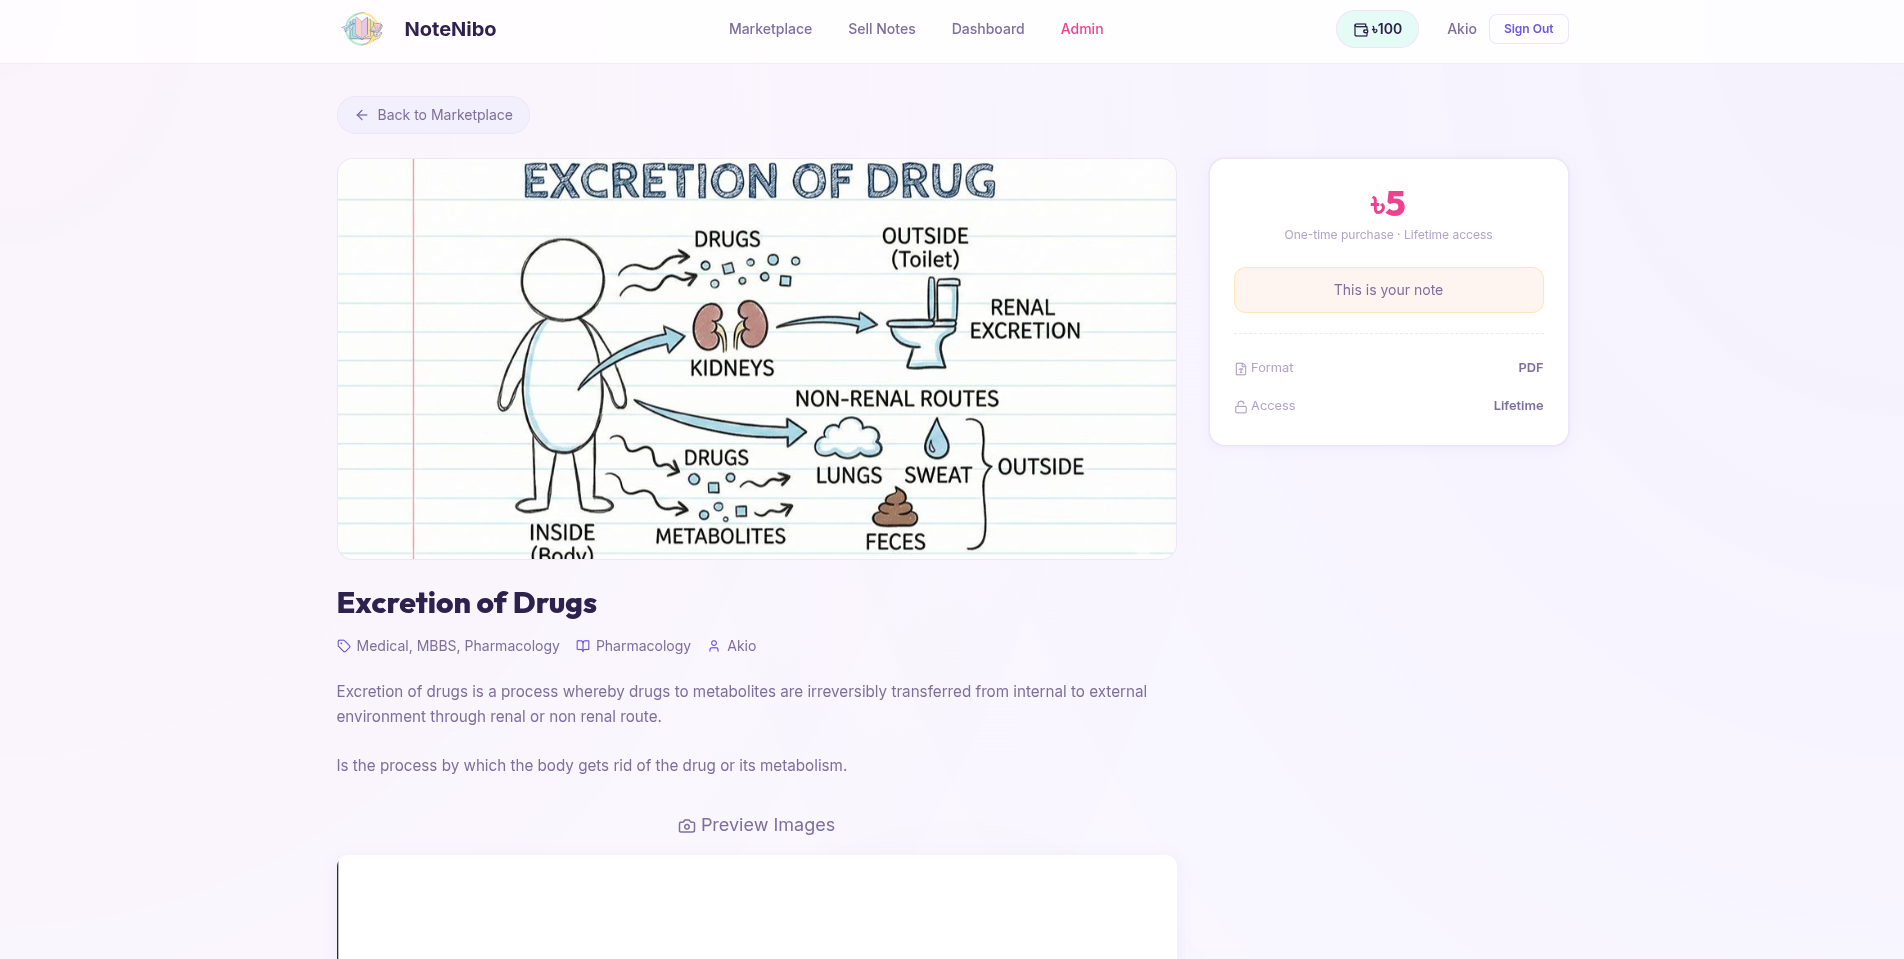
- 📝 Note Marketplace: Browse, search, and purchase study notes from fellow students
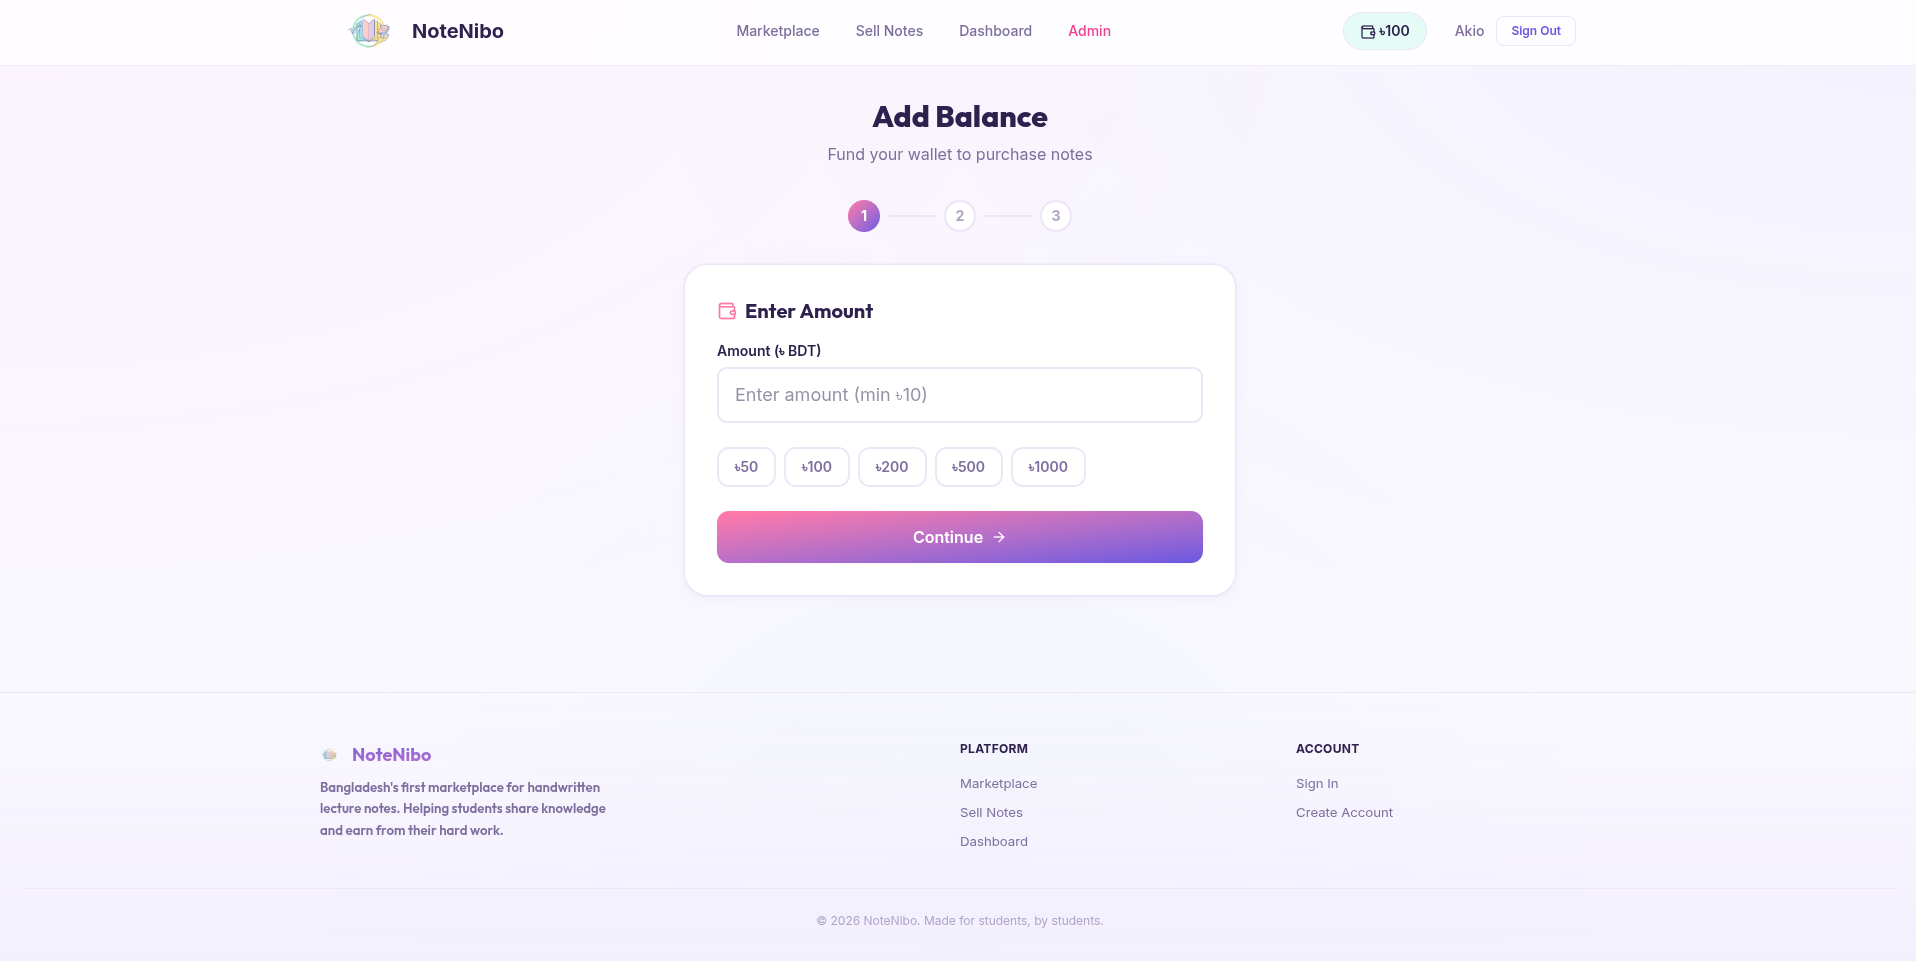
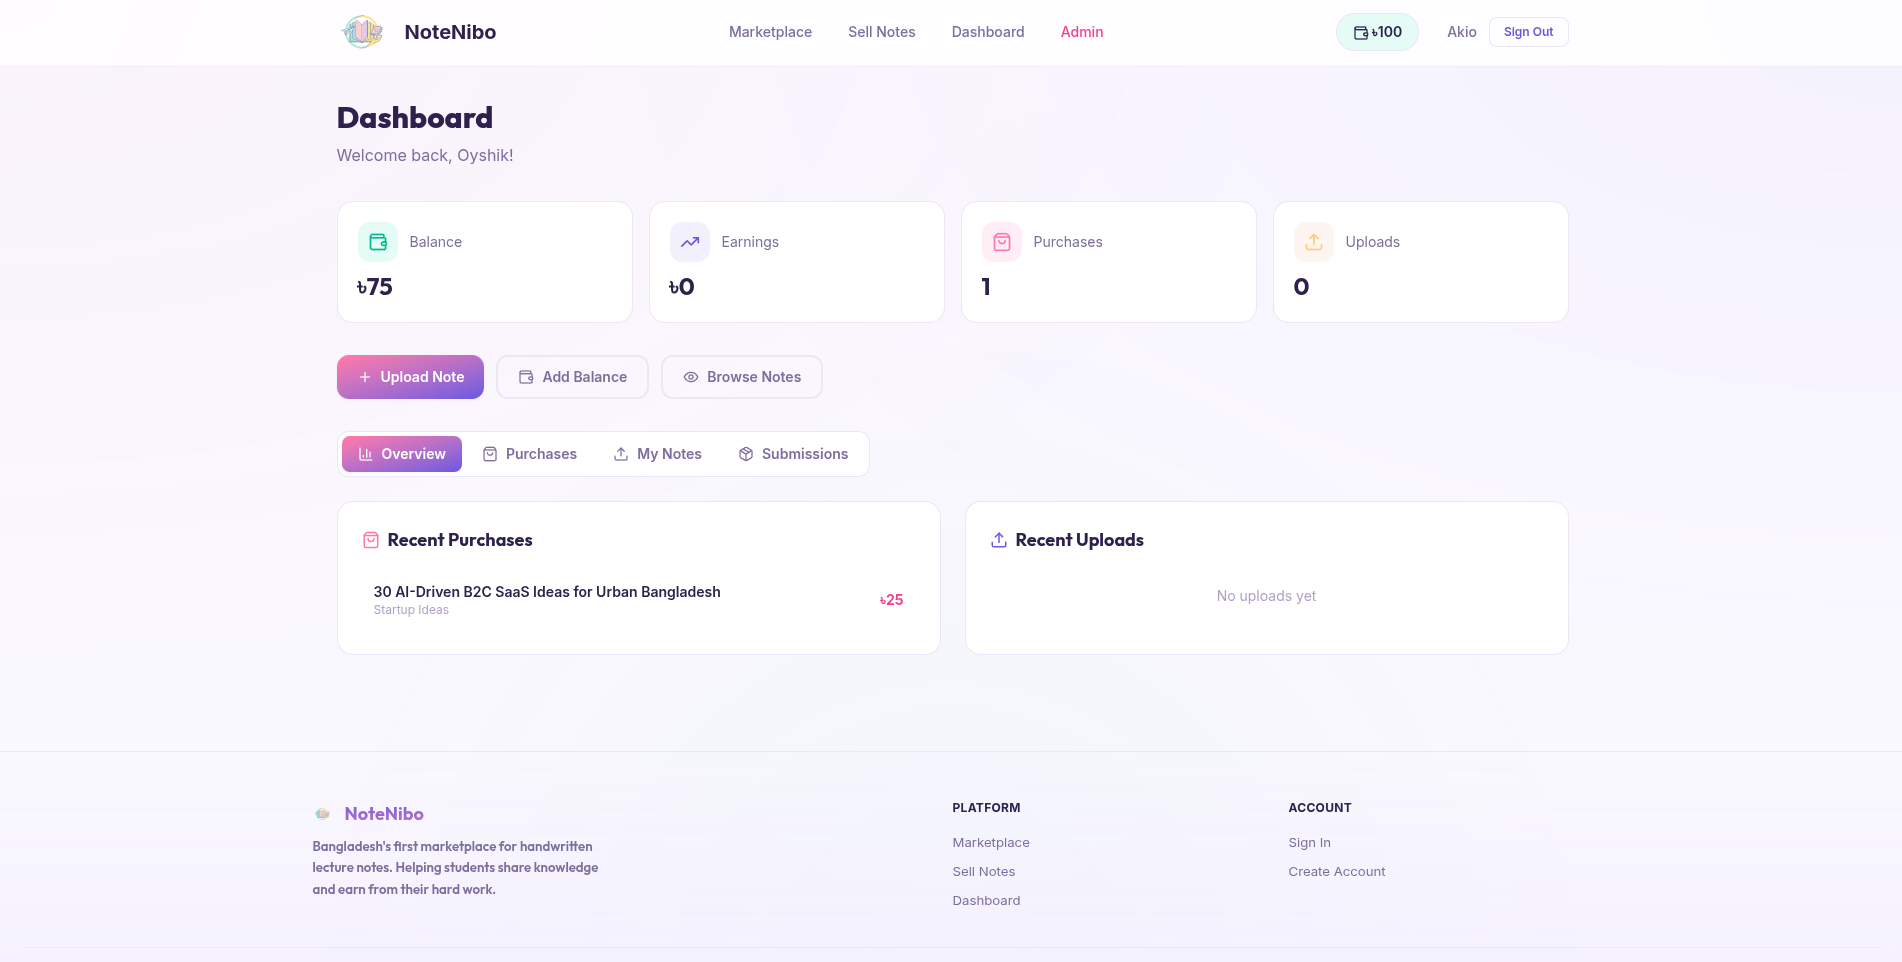
- 💰 Wallet System: Integrated balance management for seamless transactions
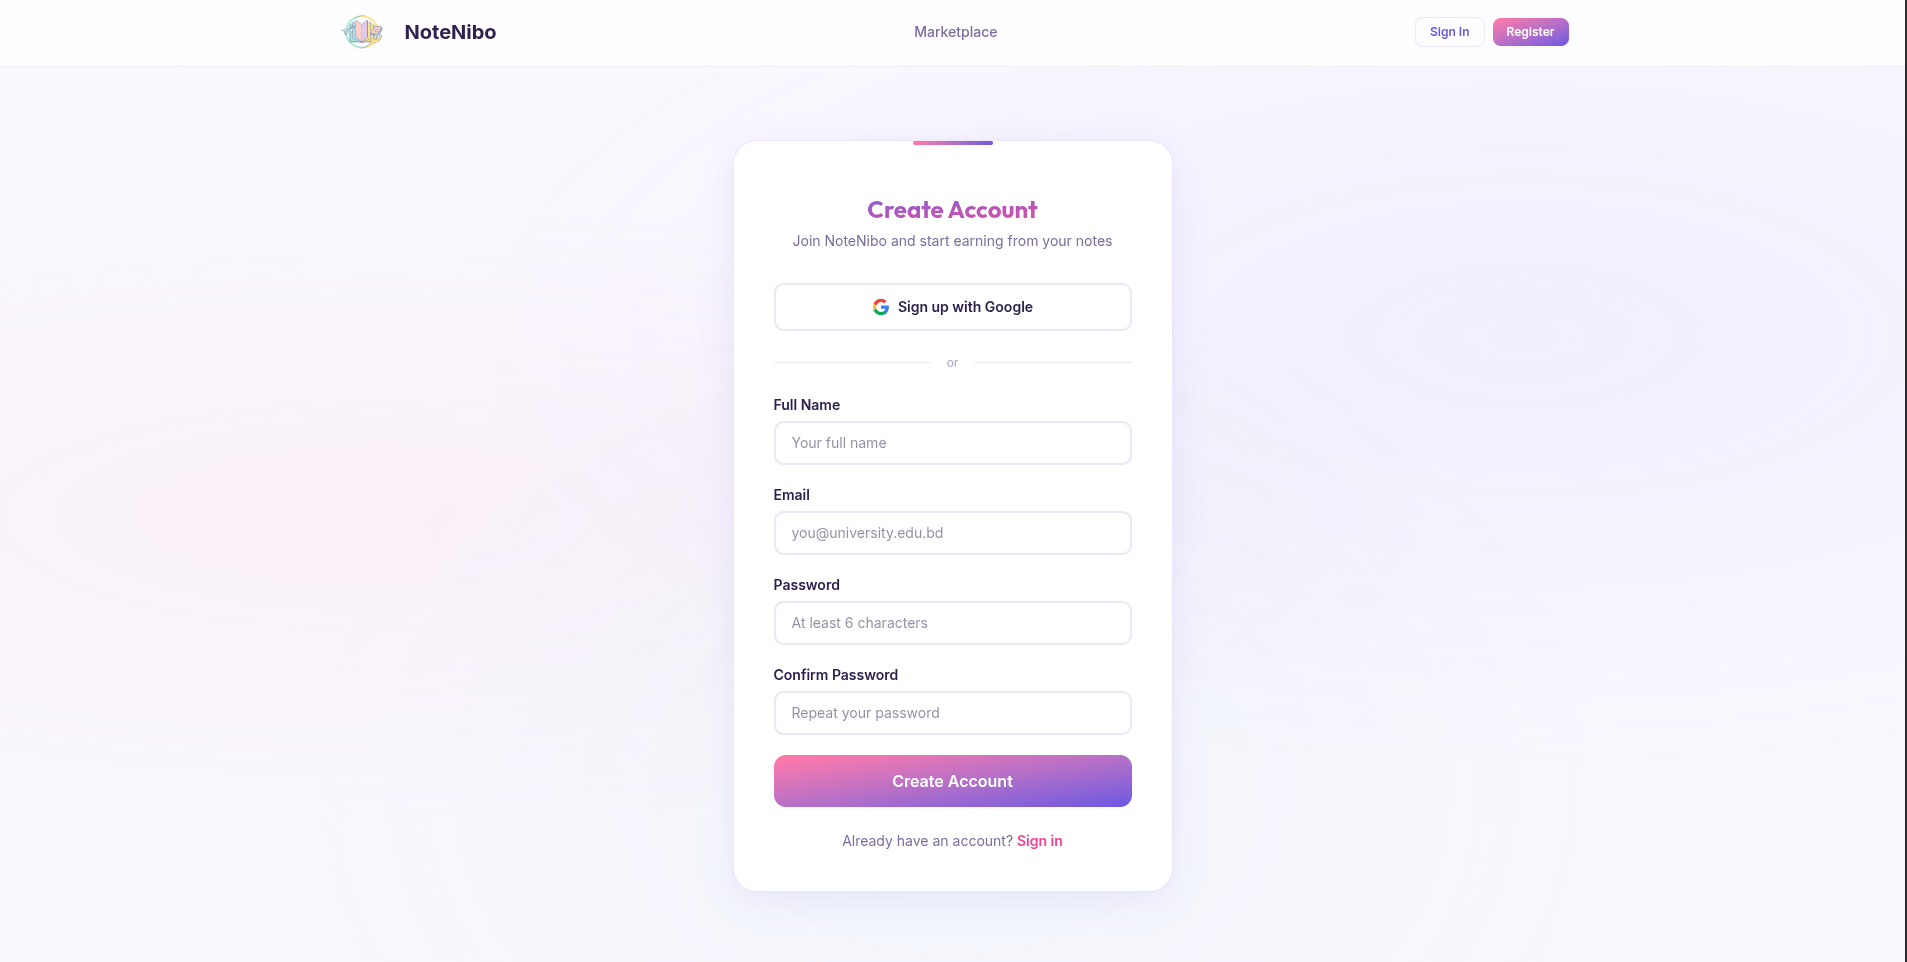
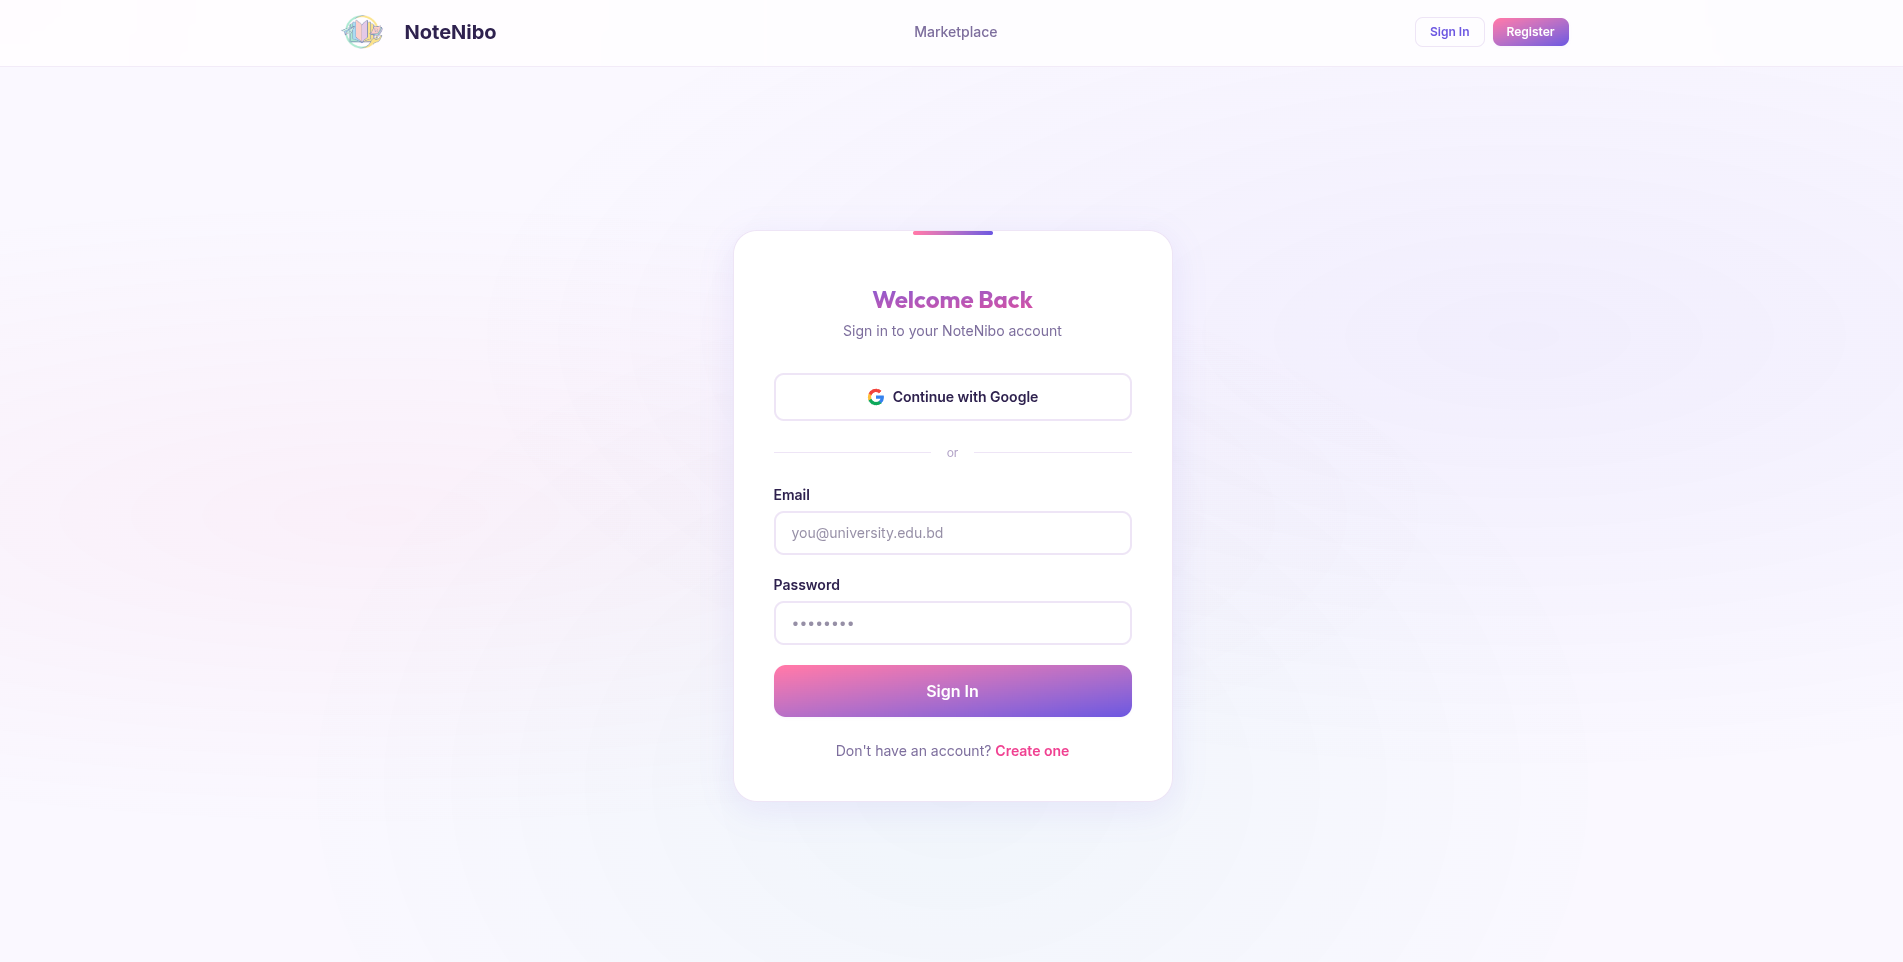
- 🔐 Secure Authentication: Sign in with Google or email/password using NextAuth
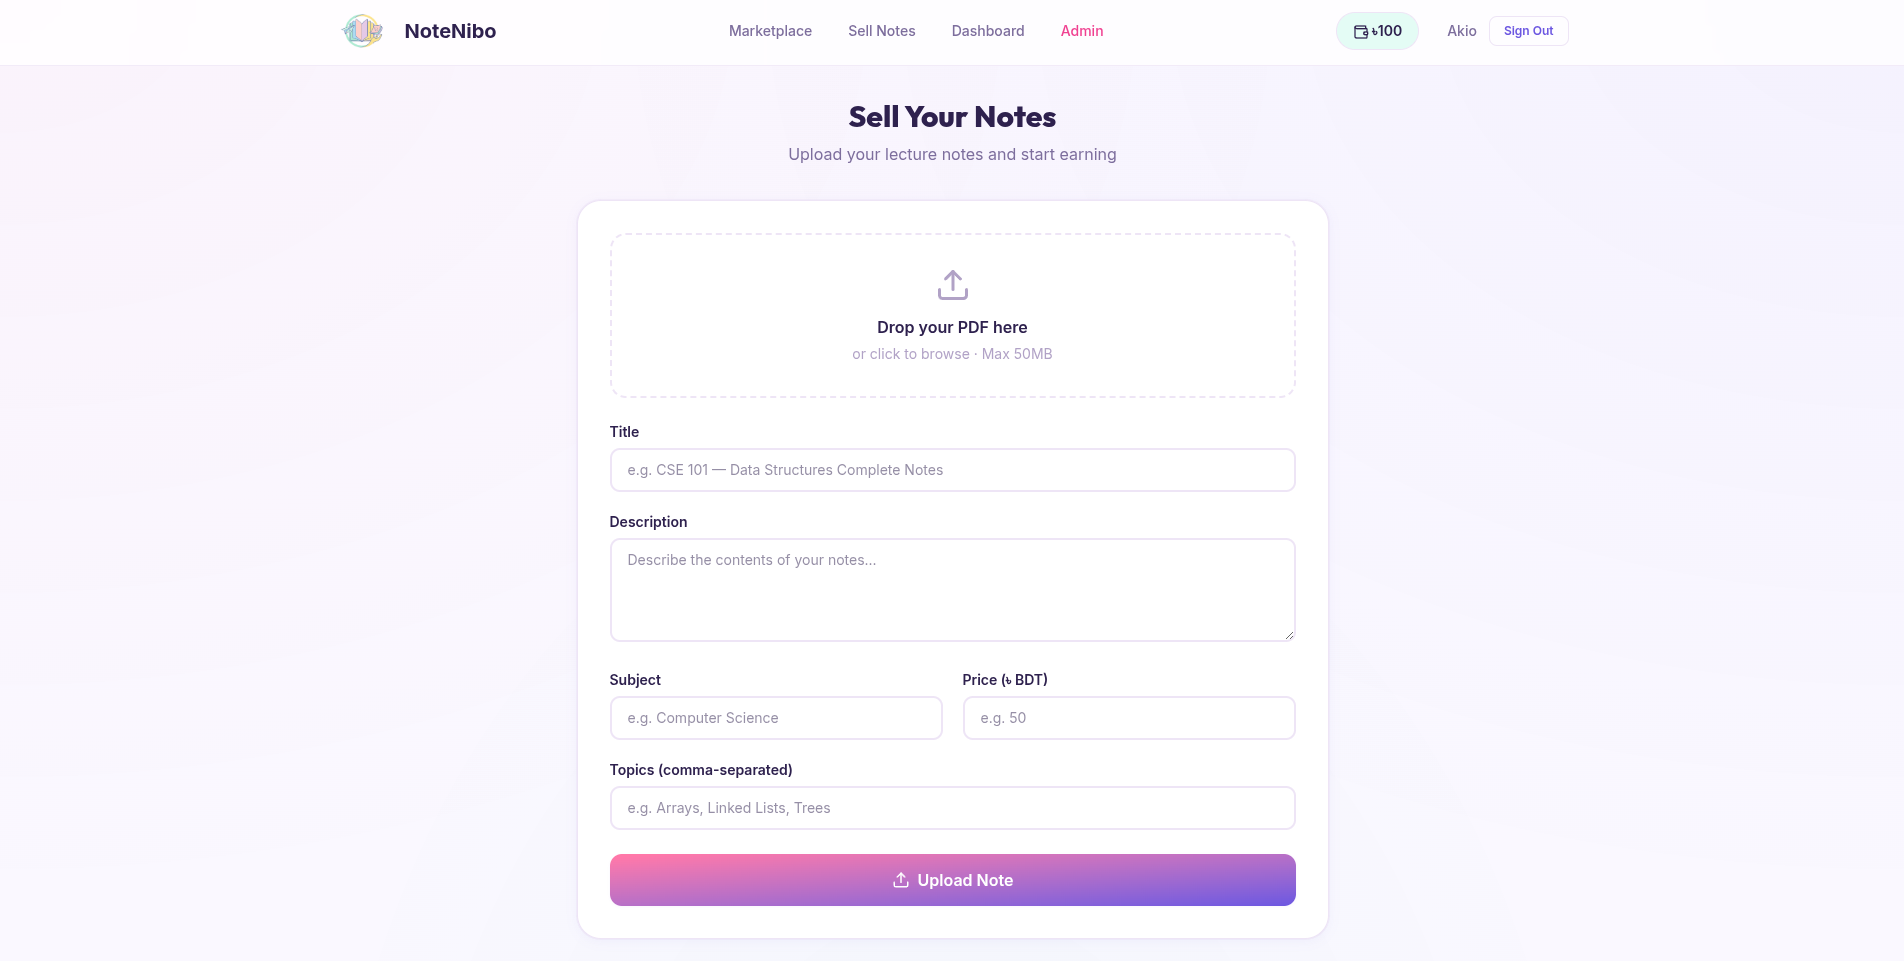
- 📤 Upload & Sell: Submit your notes for approval and earn money
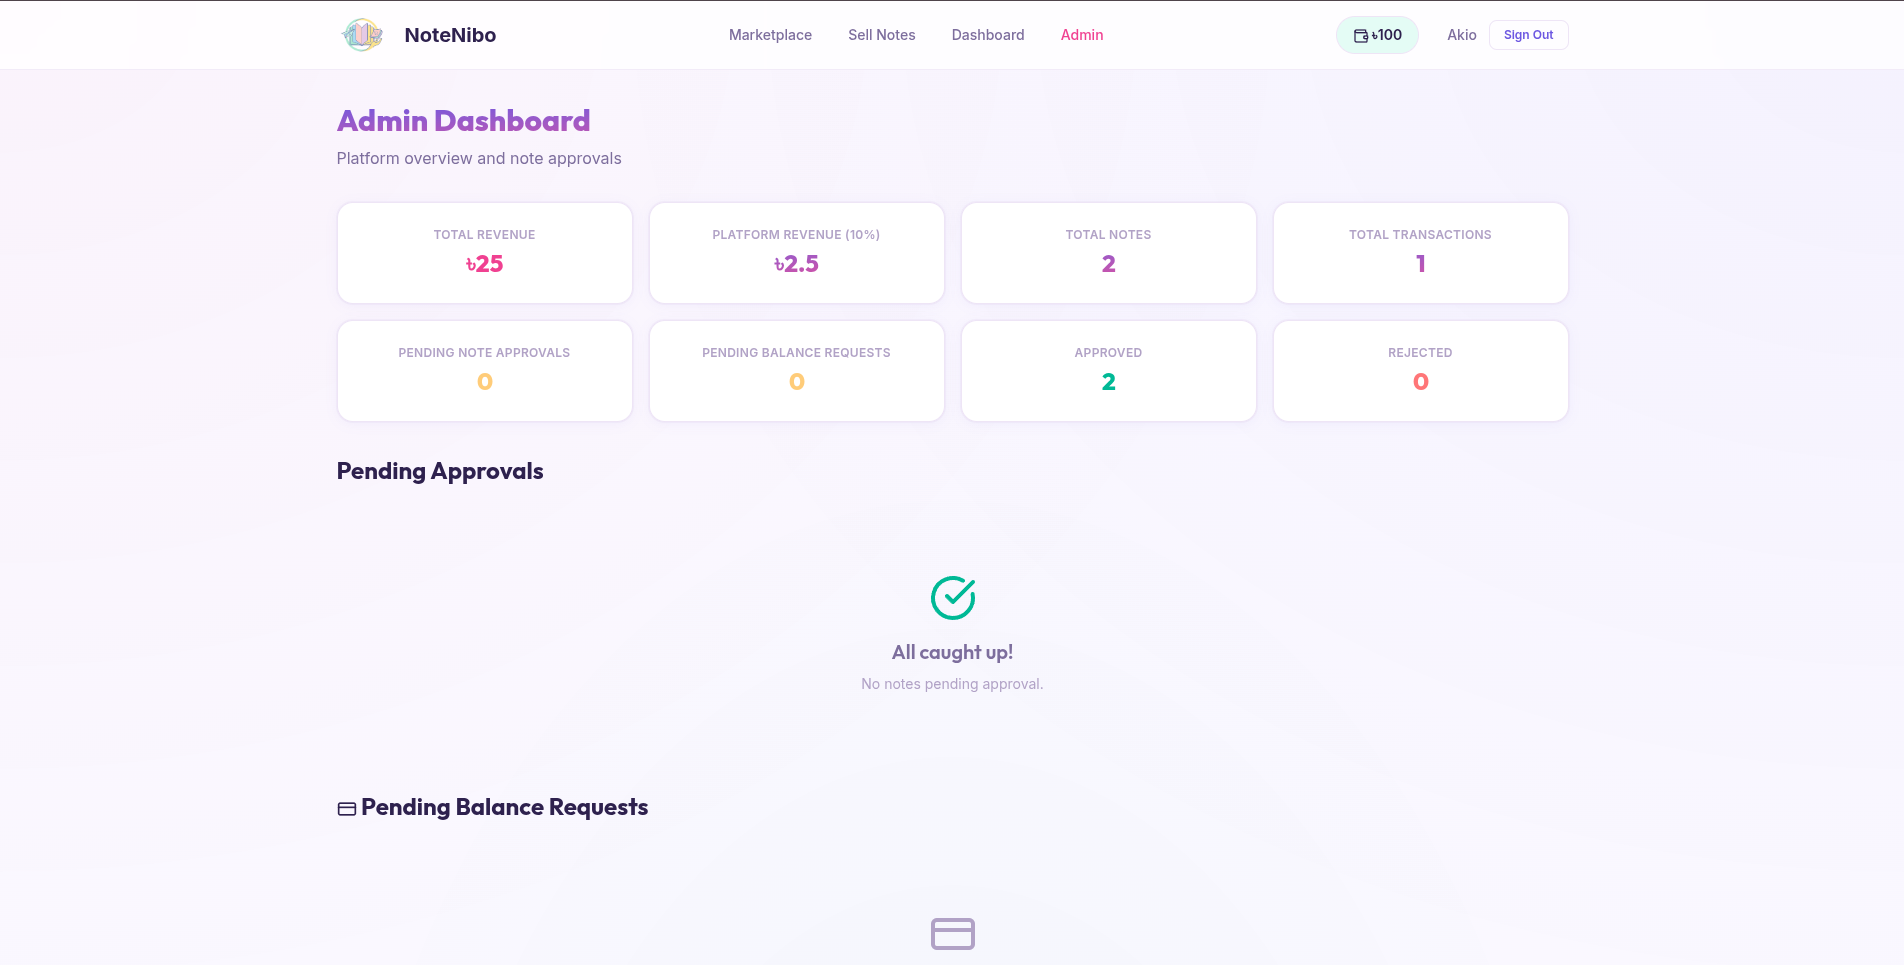
- 👨💼 Admin Dashboard: Review submitted notes, manage users, and monitor platform statistics
- 🔔 Telegram Integration: Automated notifications to admins for new submissions and balance requests
- ☁️ Cloud Storage: Reliable file storage powered by Cloudflare R2
- 🎨 Modern UI: Beautiful, responsive interface with Tailwind CSS and Framer Motion animations
- Framework: Next.js 16 (App Router)
- Language: TypeScript
- Database: MongoDB with Mongoose ODM
- Authentication: NextAuth.js (Google OAuth & Credentials)
- File Storage: Cloudflare R2 (S3-compatible)
- Styling: Tailwind CSS v4
- Animations: Framer Motion
- Icons: Lucide React
- Notifications: Telegram Bot API
Before you begin, ensure you have the following installed:
- Node.js >= 22.0.0
- npm or yarn package manager
- MongoDB database (local or cloud instance like MongoDB Atlas)
- Cloudflare R2 bucket and credentials
- Google OAuth credentials (optional, for Google sign-in)
- Telegram Bot token and channel ID (optional, for admin notifications)
- Clone the repository
git clone https://github.com/yourusername/notenibo.git
cd notenibo- Install dependencies
npm install- Set up environment variables
Create a .env.local file in the root directory:
# Database
MONGODB_URI=your_mongodb_connection_string

# NextAuth
NEXTAUTH_URL=http://localhost:3000
NEXTAUTH_SECRET=your_nextauth_secret_key

# Google OAuth (optional)
GOOGLE_CLIENT_ID=your_google_client_id
GOOGLE_CLIENT_SECRET=your_google_client_secret

# Cloudflare R2
R2_ACCOUNT_ID=your_r2_account_id
R2_ACCESS_KEY_ID=your_r2_access_key_id
R2_SECRET_ACCESS_KEY=your_r2_secret_access_key
R2_BUCKET_NAME=your_bucket_name

# Telegram (optional)
TELEGRAM_BOT_TOKEN=your_telegram_bot_token
TELEGRAM_CHANNEL_ID=your_telegram_channel_idMongoDB URI
- Sign up for MongoDB Atlas (free tier available)
- Create a new cluster
- Click "Connect" → "Connect your application"
- Copy the connection string and replace
<password>with your database user password
NextAuth Secret
Generate a random secret key:
openssl rand -base64 32Google OAuth
- Go to Google Cloud Console
- Create a new project or select existing one
- Enable Google+ API
- Go to "Credentials" → "Create Credentials" → "OAuth 2.0 Client ID"
- Add authorized redirect URI:
http://localhost:3000/api/auth/callback/google - Copy Client ID and Client Secret
Cloudflare R2
- Sign up for Cloudflare
- Go to R2 Storage → Create bucket
- Go to "Manage R2 API Tokens" → Create API token
- Copy Account ID, Access Key ID, and Secret Access Key
Telegram Bot
- Message @BotFather on Telegram
- Send
/newbotand follow instructions - Copy the bot token
- Create a Telegram channel for admin notifications
- Add your bot as an admin to the channel
- Get the channel ID (use @userinfobot)
npm run devVisit http://localhost:3000 to see the application.
npm run build
npm startdocker build -t notenibo .
docker run -p 3000:3000 --env-file .env.local notenibonotenibo/
├── app/ # Next.js App Router pages
│ ├── api/ # API routes
│ ├── dashboard/ # User dashboard
│ ├── notes/ # Browse and view notes
│ ├── admin/ # Admin panel
│ ├── sell/ # Upload notes
│ └── ...
├── components/ # React components
├── lib/ # Utility libraries
│ ├── auth.ts # NextAuth configuration
│ ├── mongodb.ts # MongoDB connection
│ ├── r2.ts # Cloudflare R2 utilities
│ └── telegram.ts # Telegram notifications
├── models/ # Mongoose models
│ ├── User.ts
│ ├── Note.ts
│ ├── Transaction.ts
│ └── BalanceRequest.ts
├── types/ # TypeScript type definitions
└── public/ # Static assets
- Browse and purchase notes
- Upload notes for sale (pending admin approval)
- Request balance top-ups
- View purchase history
- Approve/reject submitted notes
- Manage balance requests
- View platform statistics
- Delete notes
- Access admin dashboard
After registering, manually update the user's role in the MongoDB database:
db.users.updateOne(
  { email: "admin@example.com" },
  { $set: { role: "admin" } }
)- Never commit
.env.localto version control - Use strong, unique passwords for all services
- Regularly rotate API keys and secrets
- Enable 2FA on all service accounts
- Keep dependencies updated:
npm audit fix
Key API endpoints:
POST /api/auth/register- Register new userPOST /api/notes/upload- Upload a new noteGET /api/notes- Get all approved notesPOST /api/notes/[id]/buy- Purchase a noteGET /api/notes/[id]/download- Download purchased notePOST /api/user/add-balance- Request balance top-upGET /api/user/dashboard- Get user dashboard dataGET /api/admin/stats- Get admin statistics
Contributions are welcome! Please feel free to submit a Pull Request.
- Fork the repository
- Create your feature branch (
git checkout -b feature/AmazingFeature) - Commit your changes (
git commit -m 'Add some AmazingFeature') - Push to the branch (
git push origin feature/AmazingFeature) - Open a Pull Request
This project is open source and available under the MIT License.
If you encounter any bugs or have feature requests, please file an issue on the GitHub Issues page.
For questions or support, please open an issue on GitHub.
Made with ❤️ for students, by students