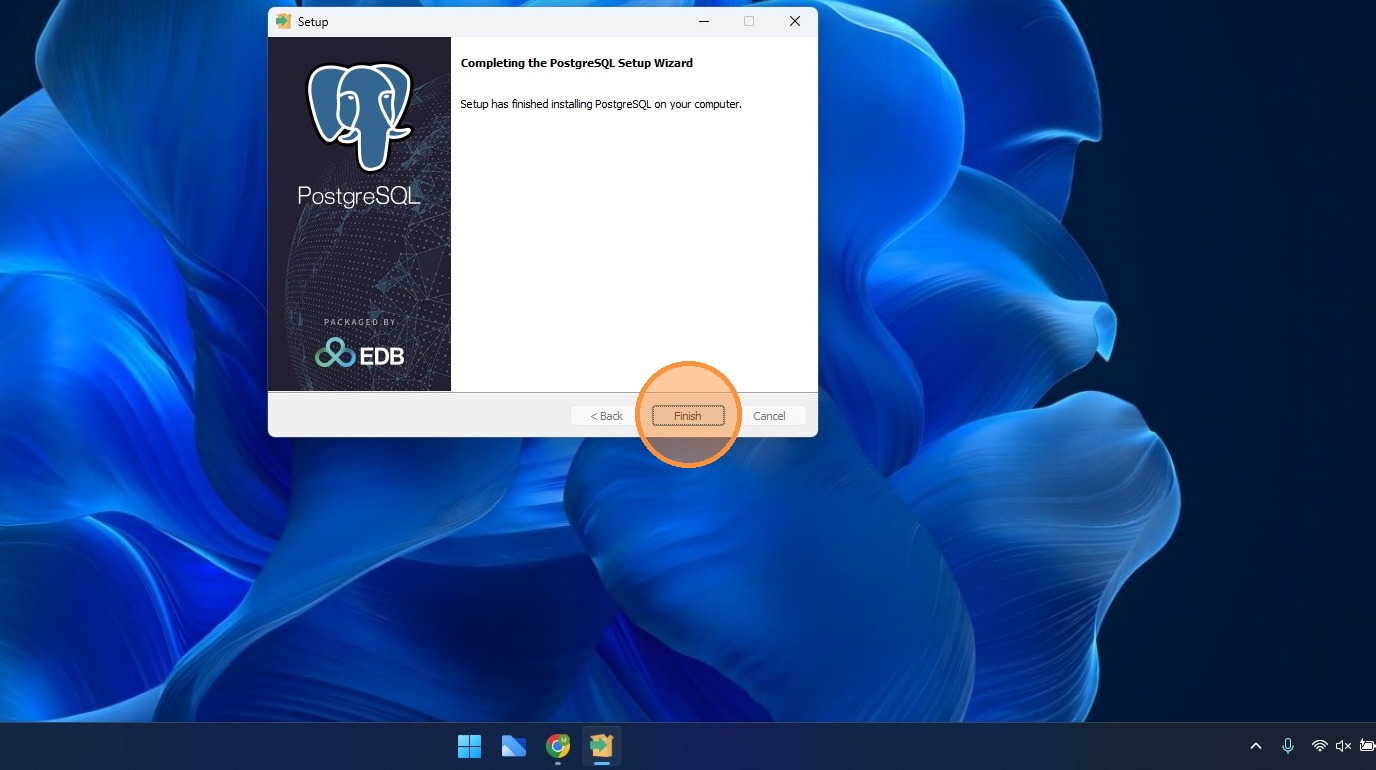
1.0.1 PostgresSQL Windows Install
This guide walks you through the complete process of downloading and installing the PostgreSQL database management system on a Windows machine. Follow these steps to correctly configure the installer and ensure your database environment is ready for use.
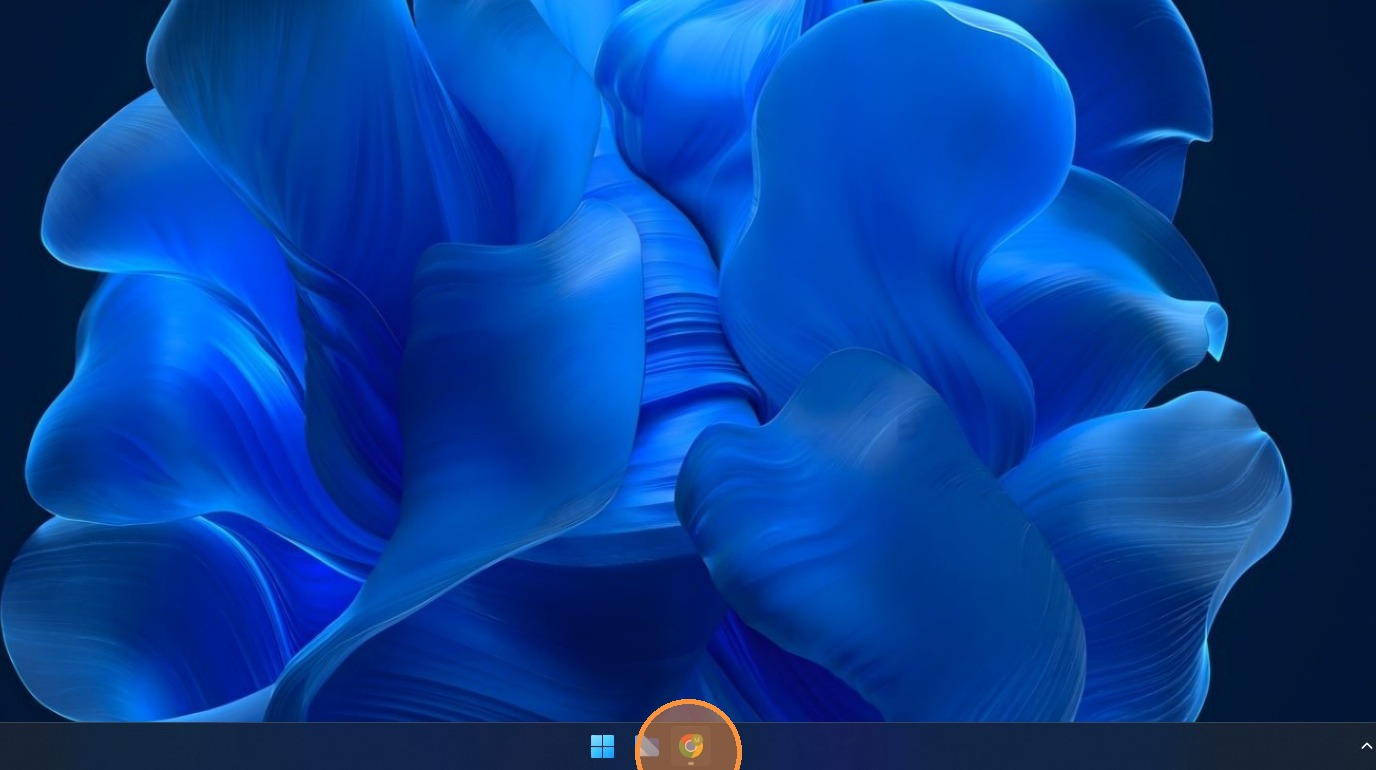
1. Open Google Chrome from the taskbar.
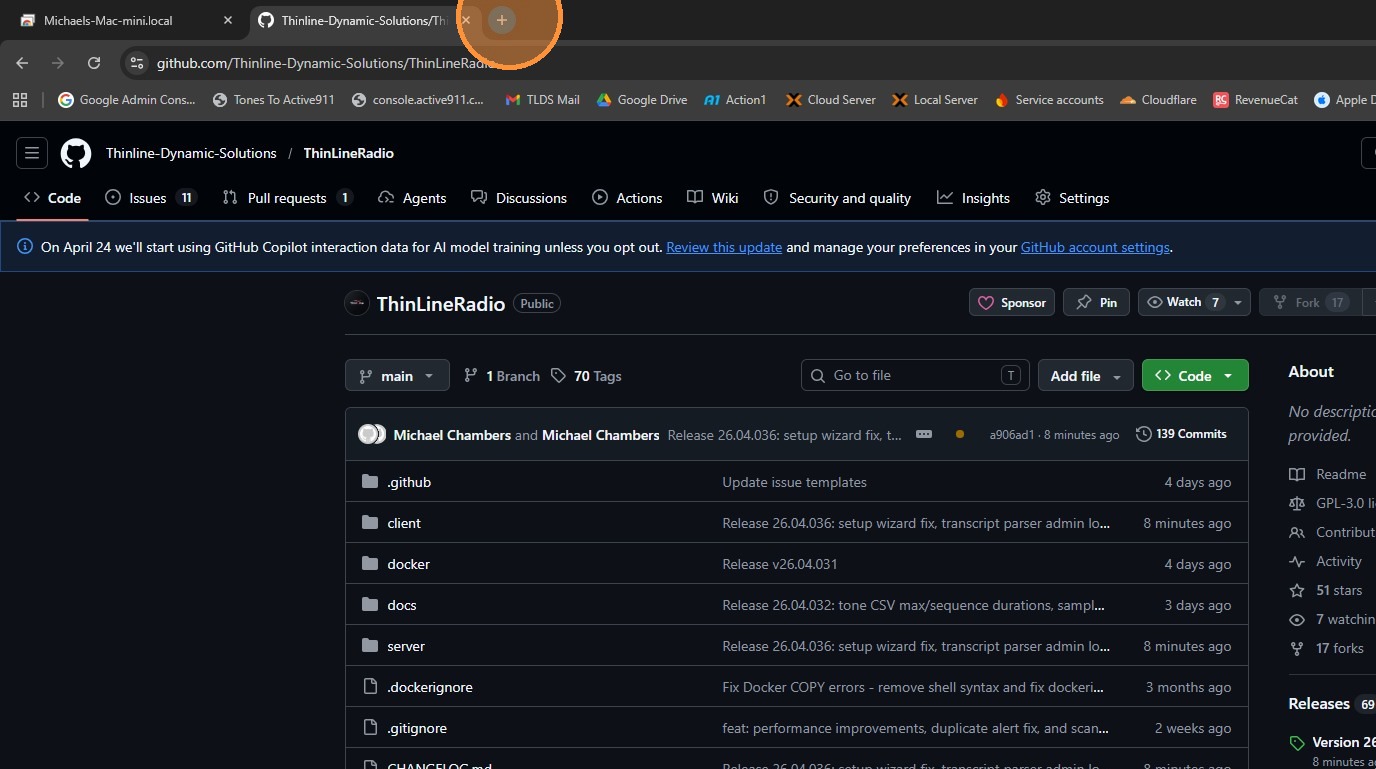
2. Open a new tab.

3. Type 'postgresql' in the address bar and press Enter to search.
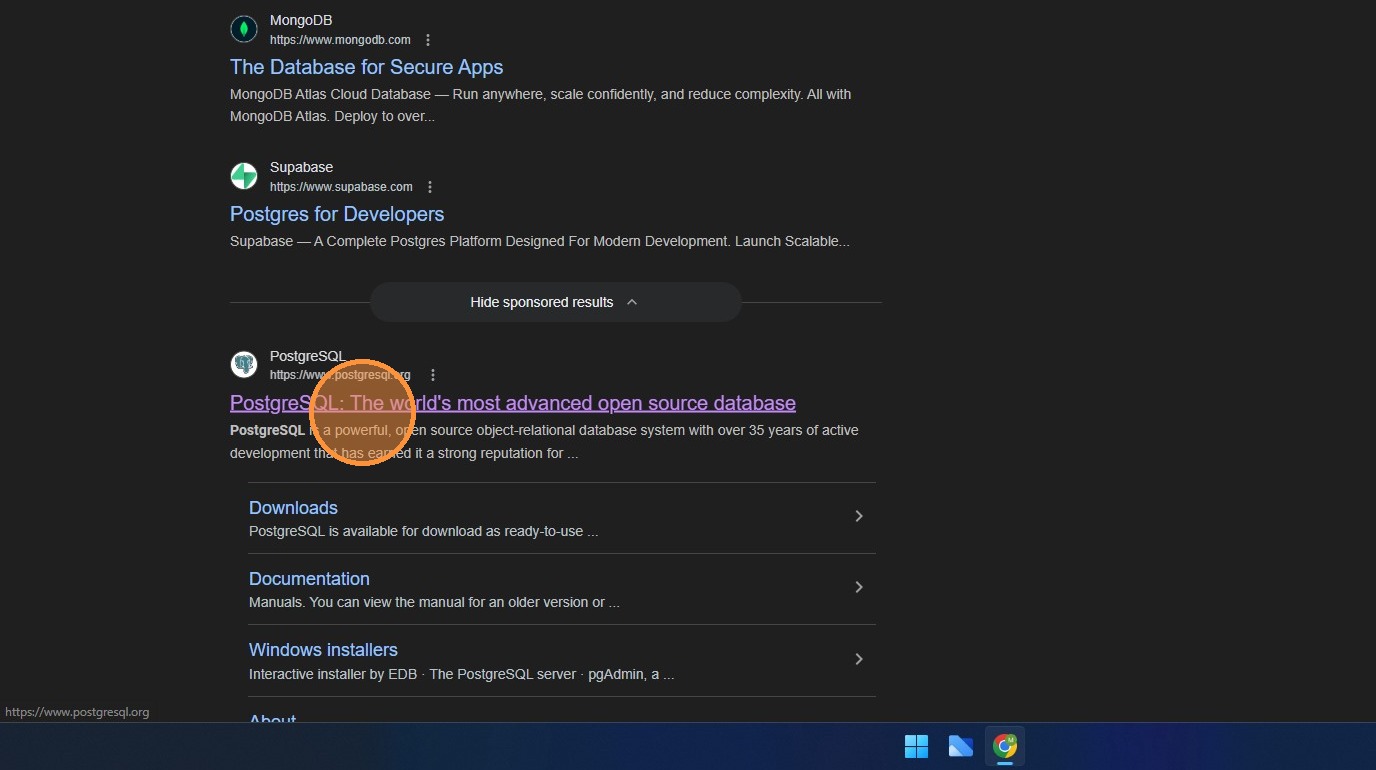
4. Select the PostgreSQL official website from the search results.
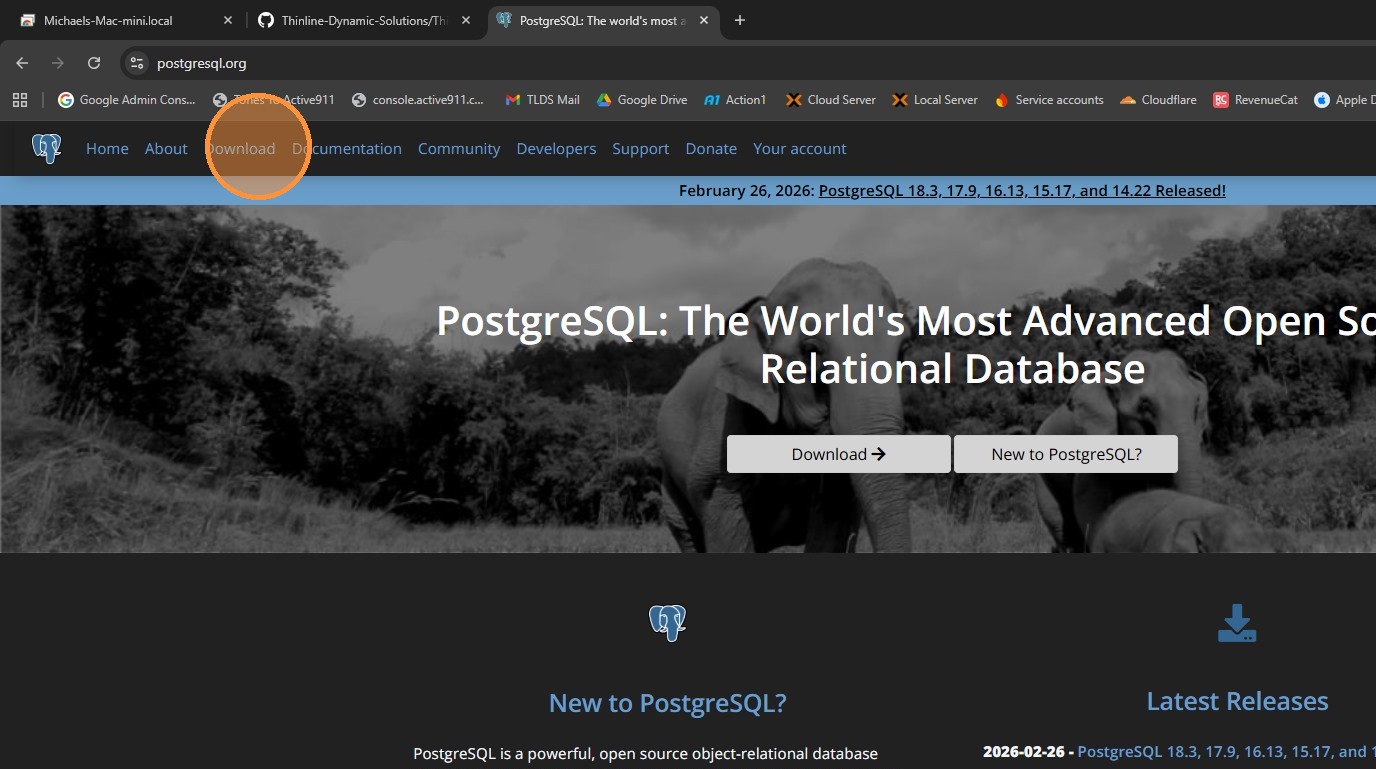
5. Navigate to the 'Download' page.
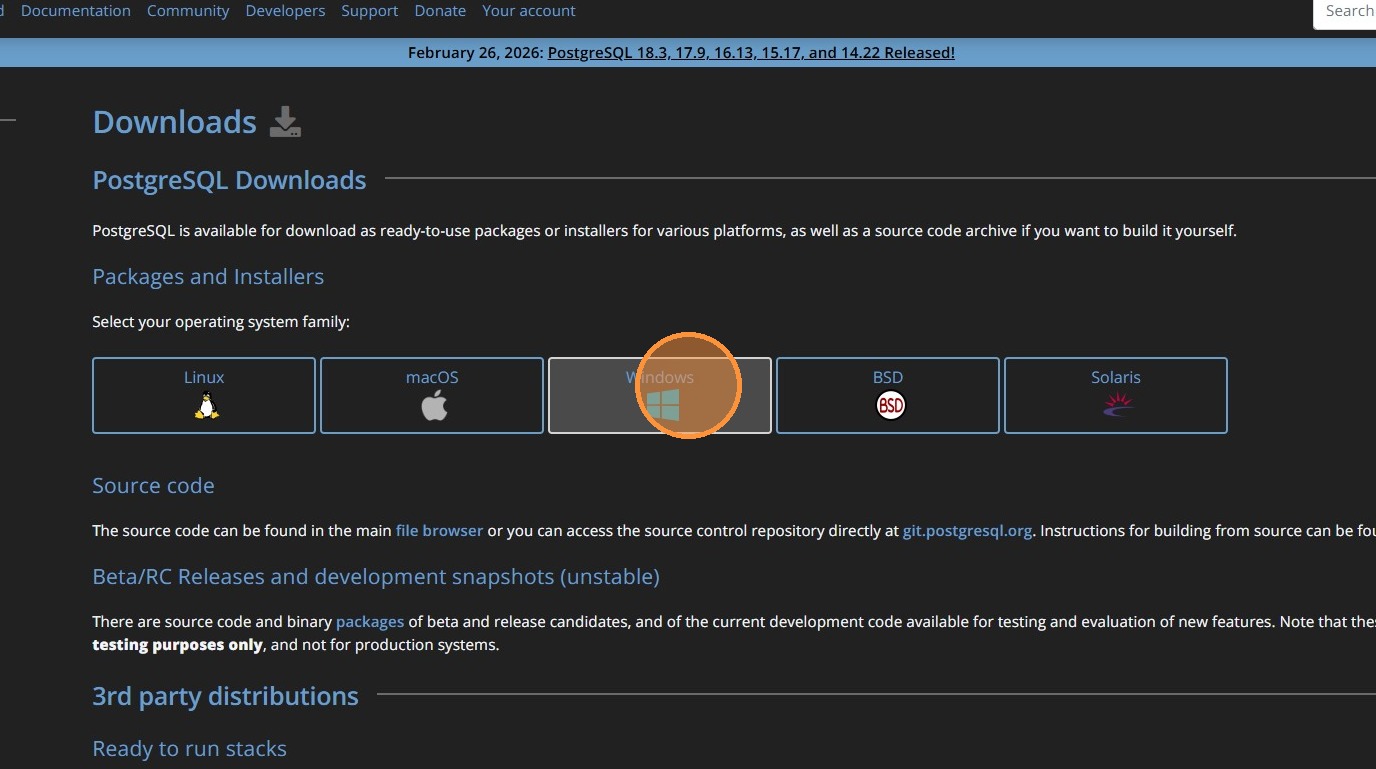
6. Select the 'Windows' platform.
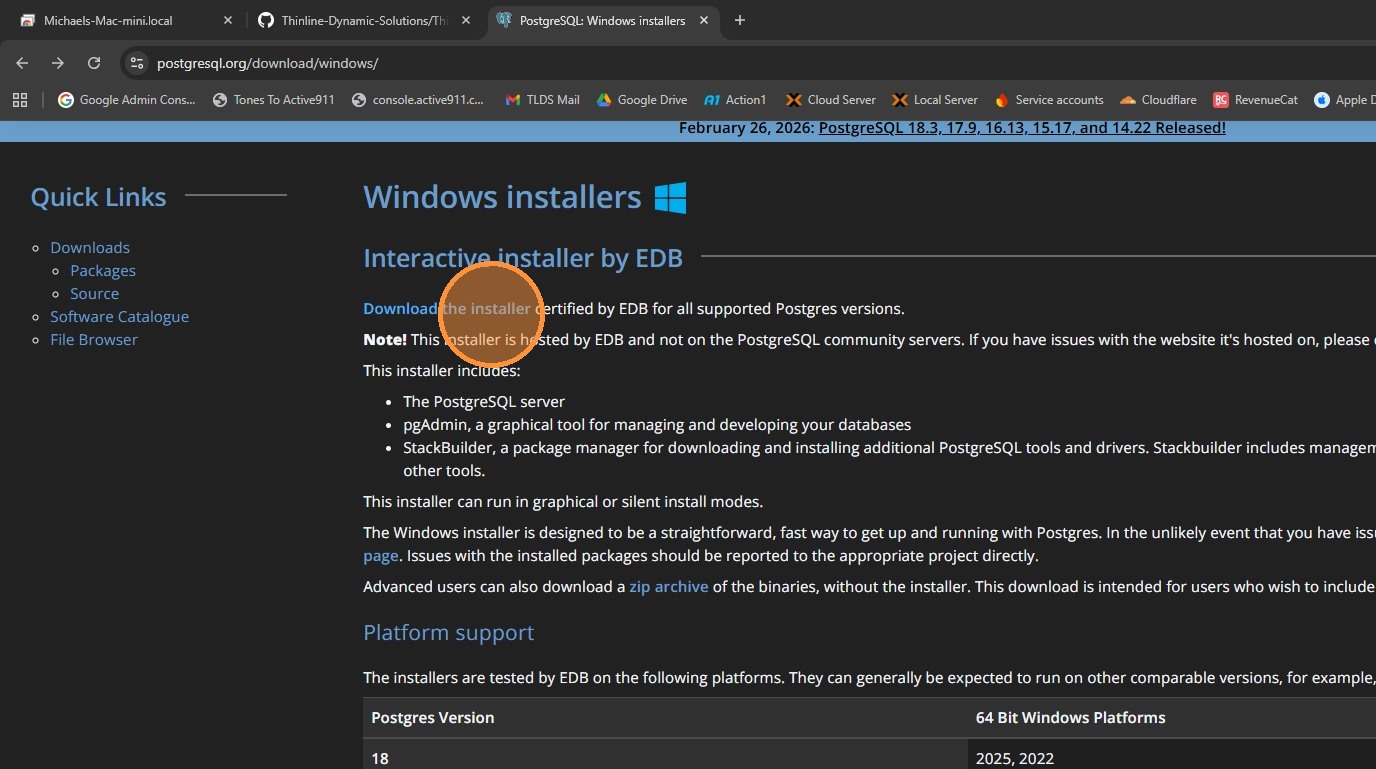
7. Click 'Download the installer' to proceed to the EDB download page.
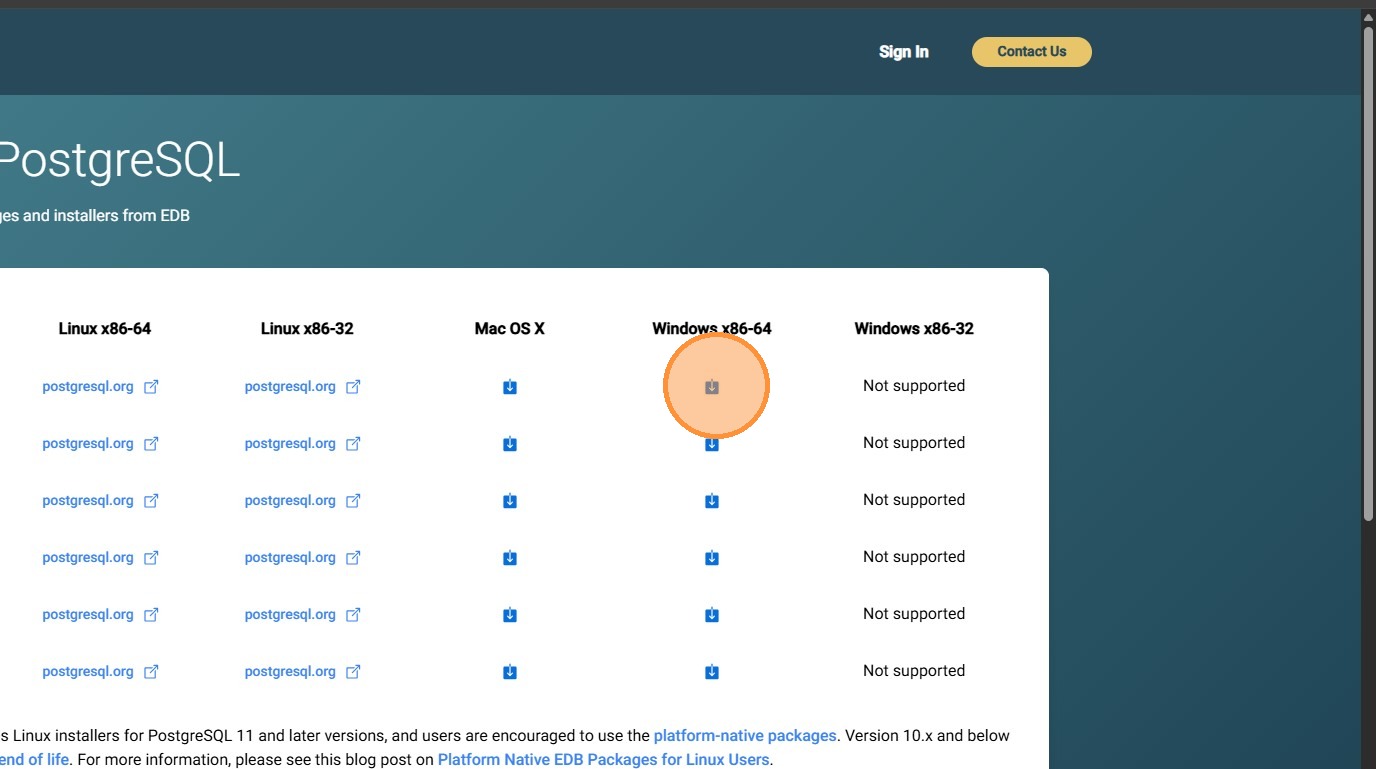
8. Locate the desired version for 'Windows x86-64' and click the download icon.

9. Open the downloaded PostgreSQL installer from the browser's download history.
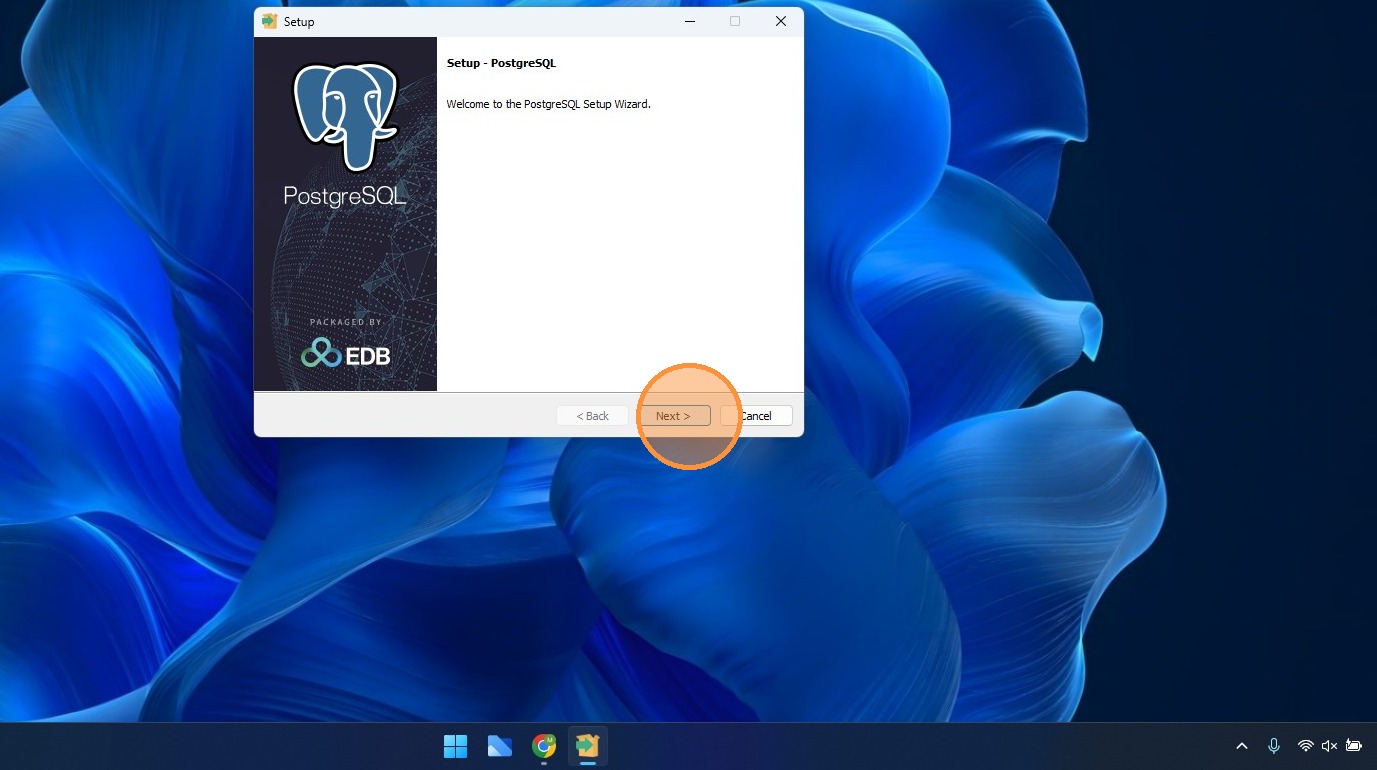
10. Click 'Next' to start the PostgreSQL Setup Wizard.
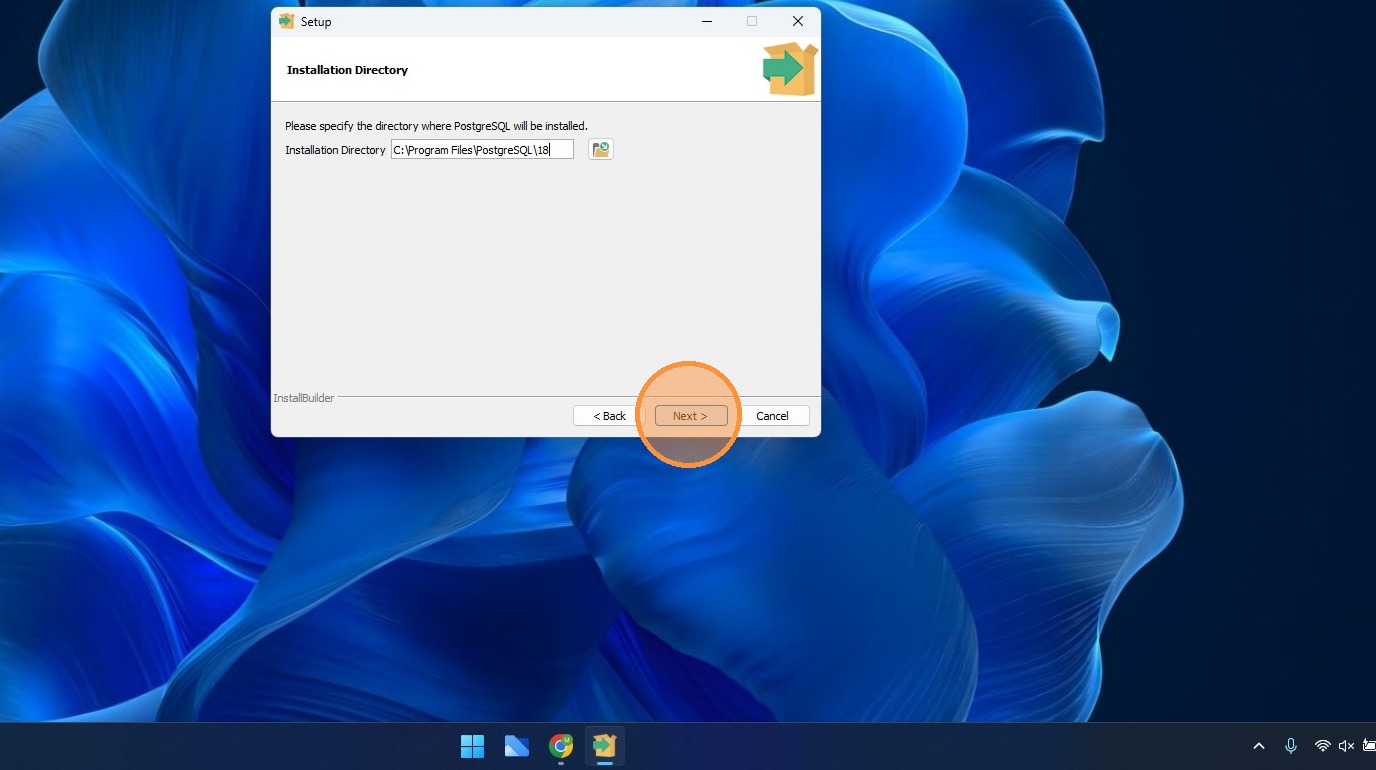
11. Verify the installation directory and click 'Next'.
12. Select the components you want to install and click 'Next'. (Note: You may uncheck 'Stack Builder' its not needed).

13. Confirm the data directory and click 'Next'.
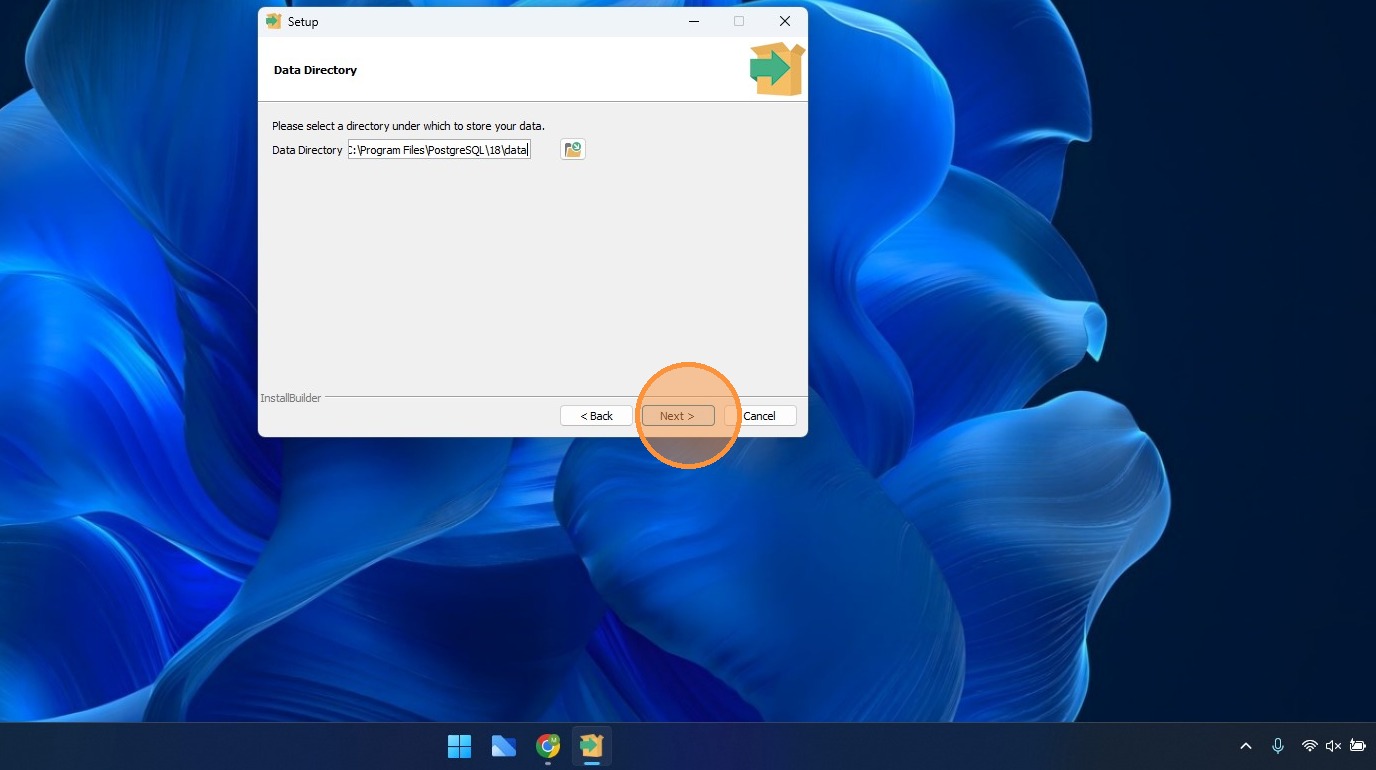
14. Enter a password for the database superuser, confirm it, and click 'Next'. "WRITE THIS PASSWORD DOWN OR SAVE IT BECAUSE YOU WILL NEED IT LATER"
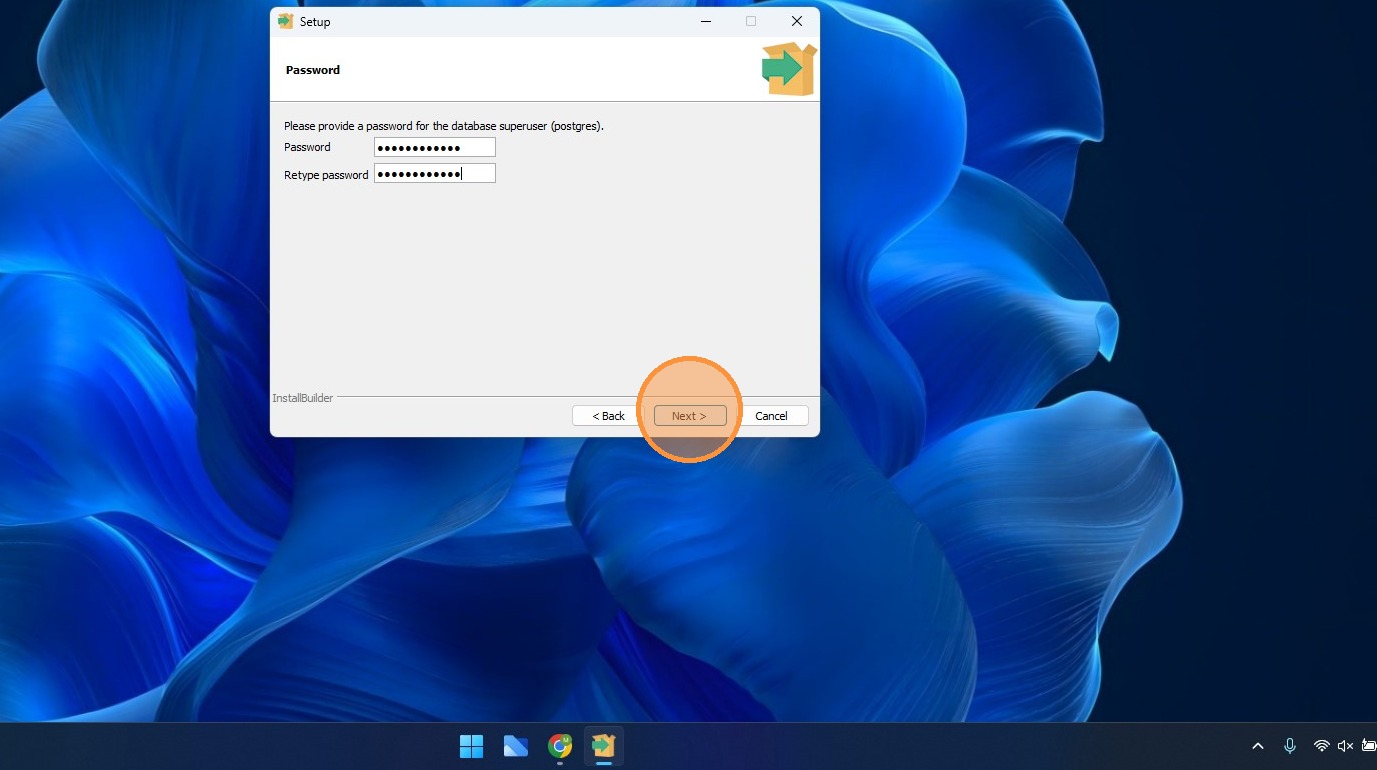
15. Select the port number for the server and click 'Next'.
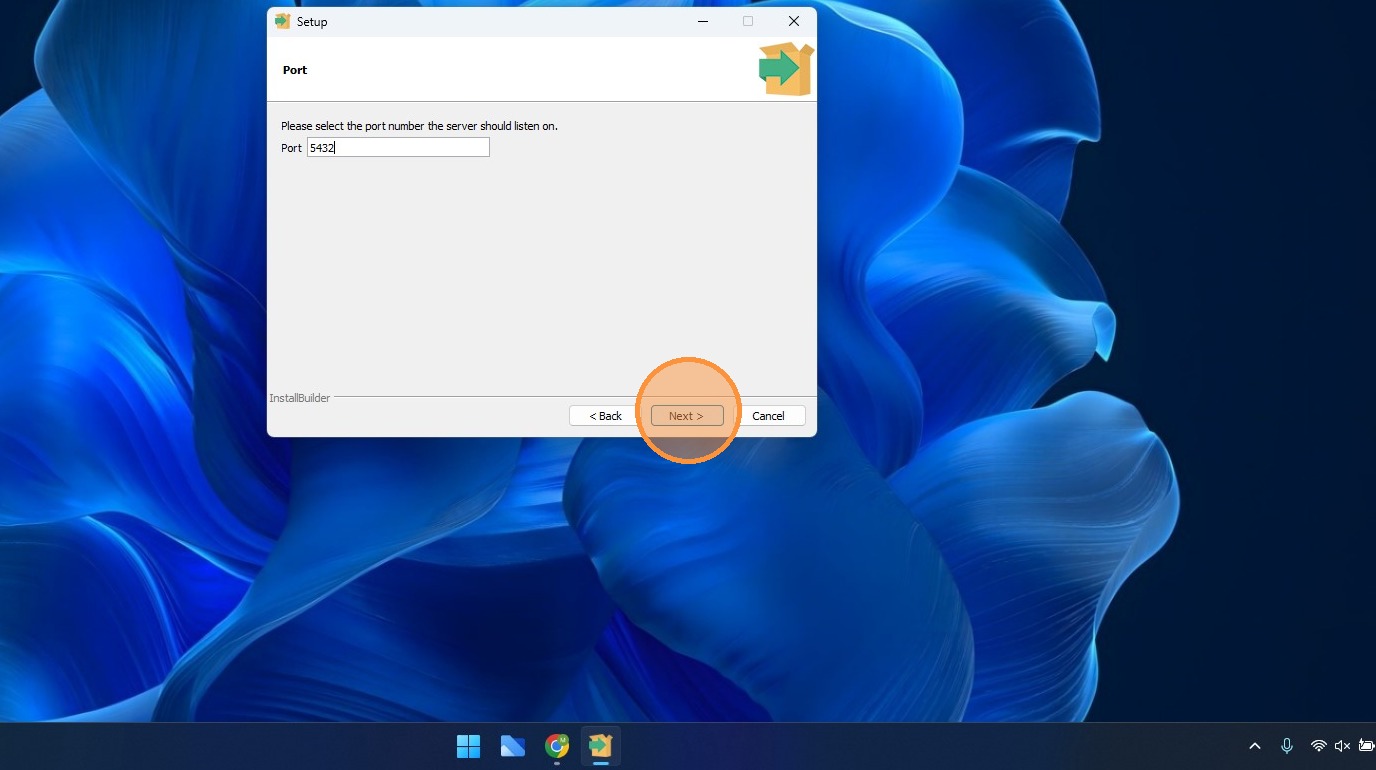
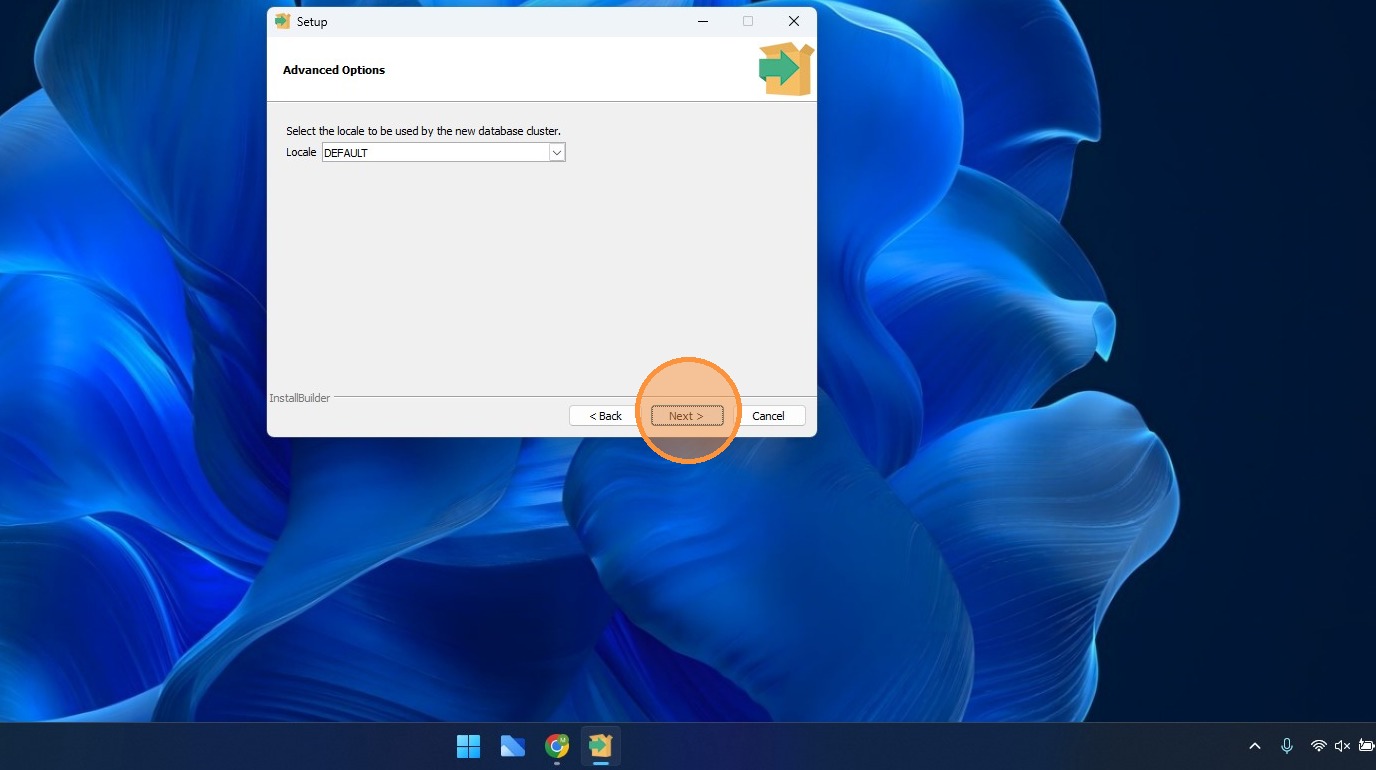
16. Choose the locale for the database cluster and click 'Next'.
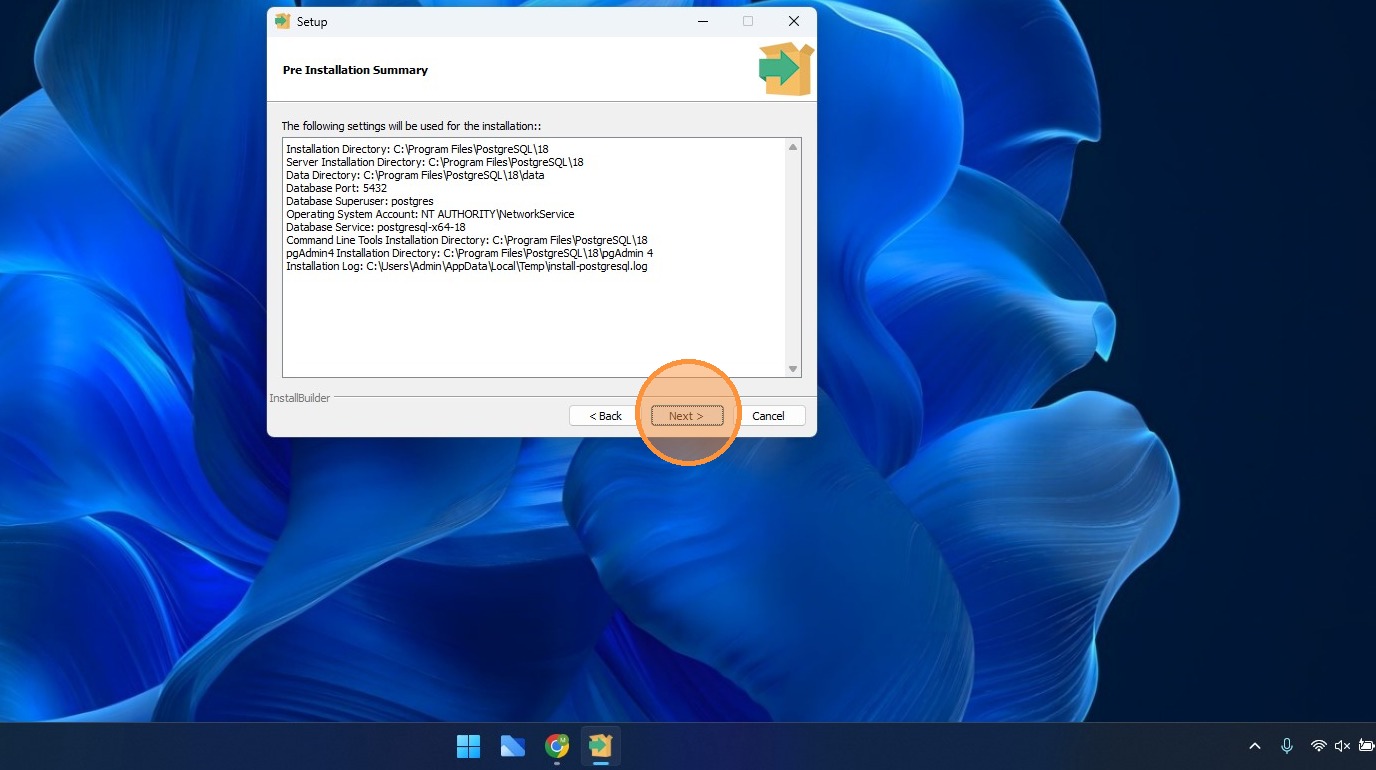
17. Review the pre-installation summary and click 'Next'.
18. Click 'Next' to begin the installation process.
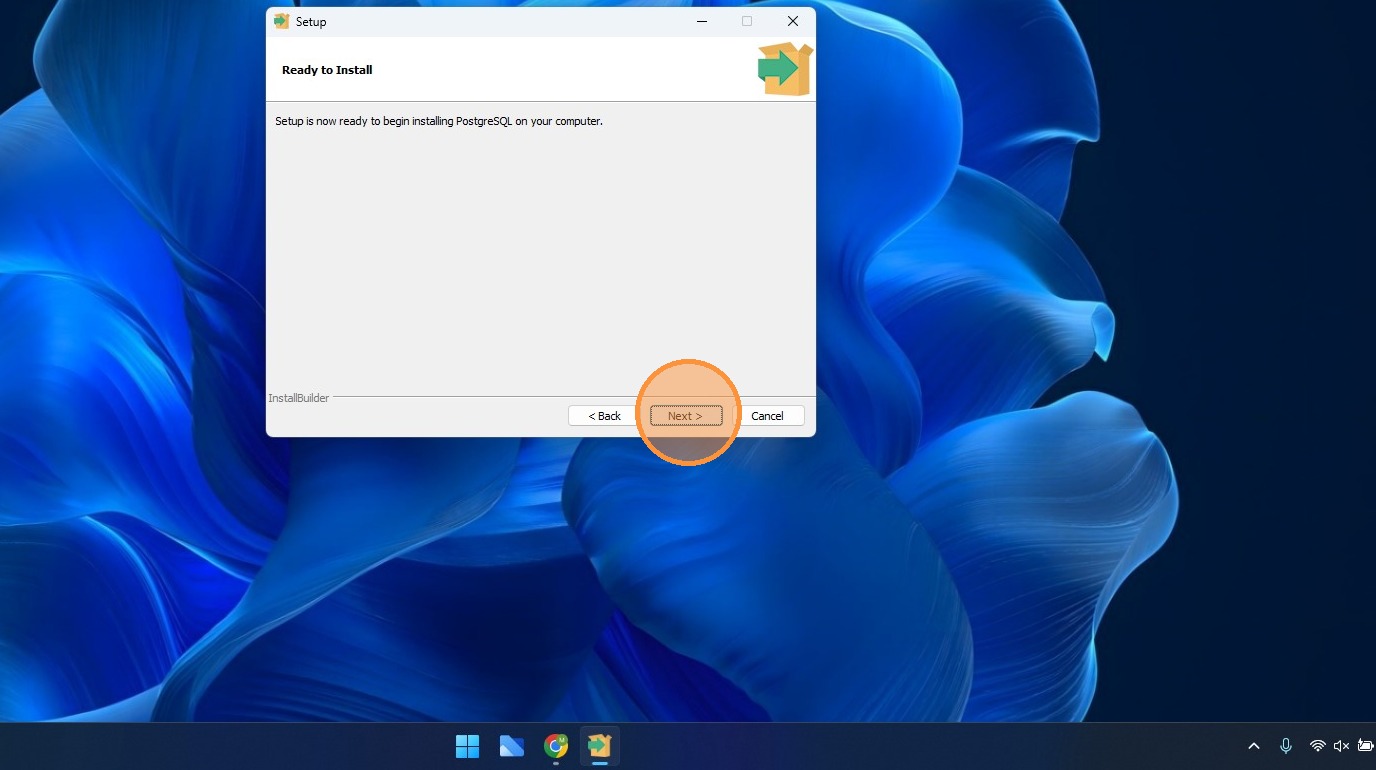
19. Click 'Finish' to complete the installation.