

This is a simple AR image tracking video player, based on AR Foundation, ARKit, utilizing Unity and C#.
Table of Contents

Download the project and open it with Unity version 2021.2.18f or latest. Below you can see some steps on how to create this project yourself.
Unity version 2021.2.18f or latest; AR Foundation package; A photograph or any other image; A video source (can be a link).
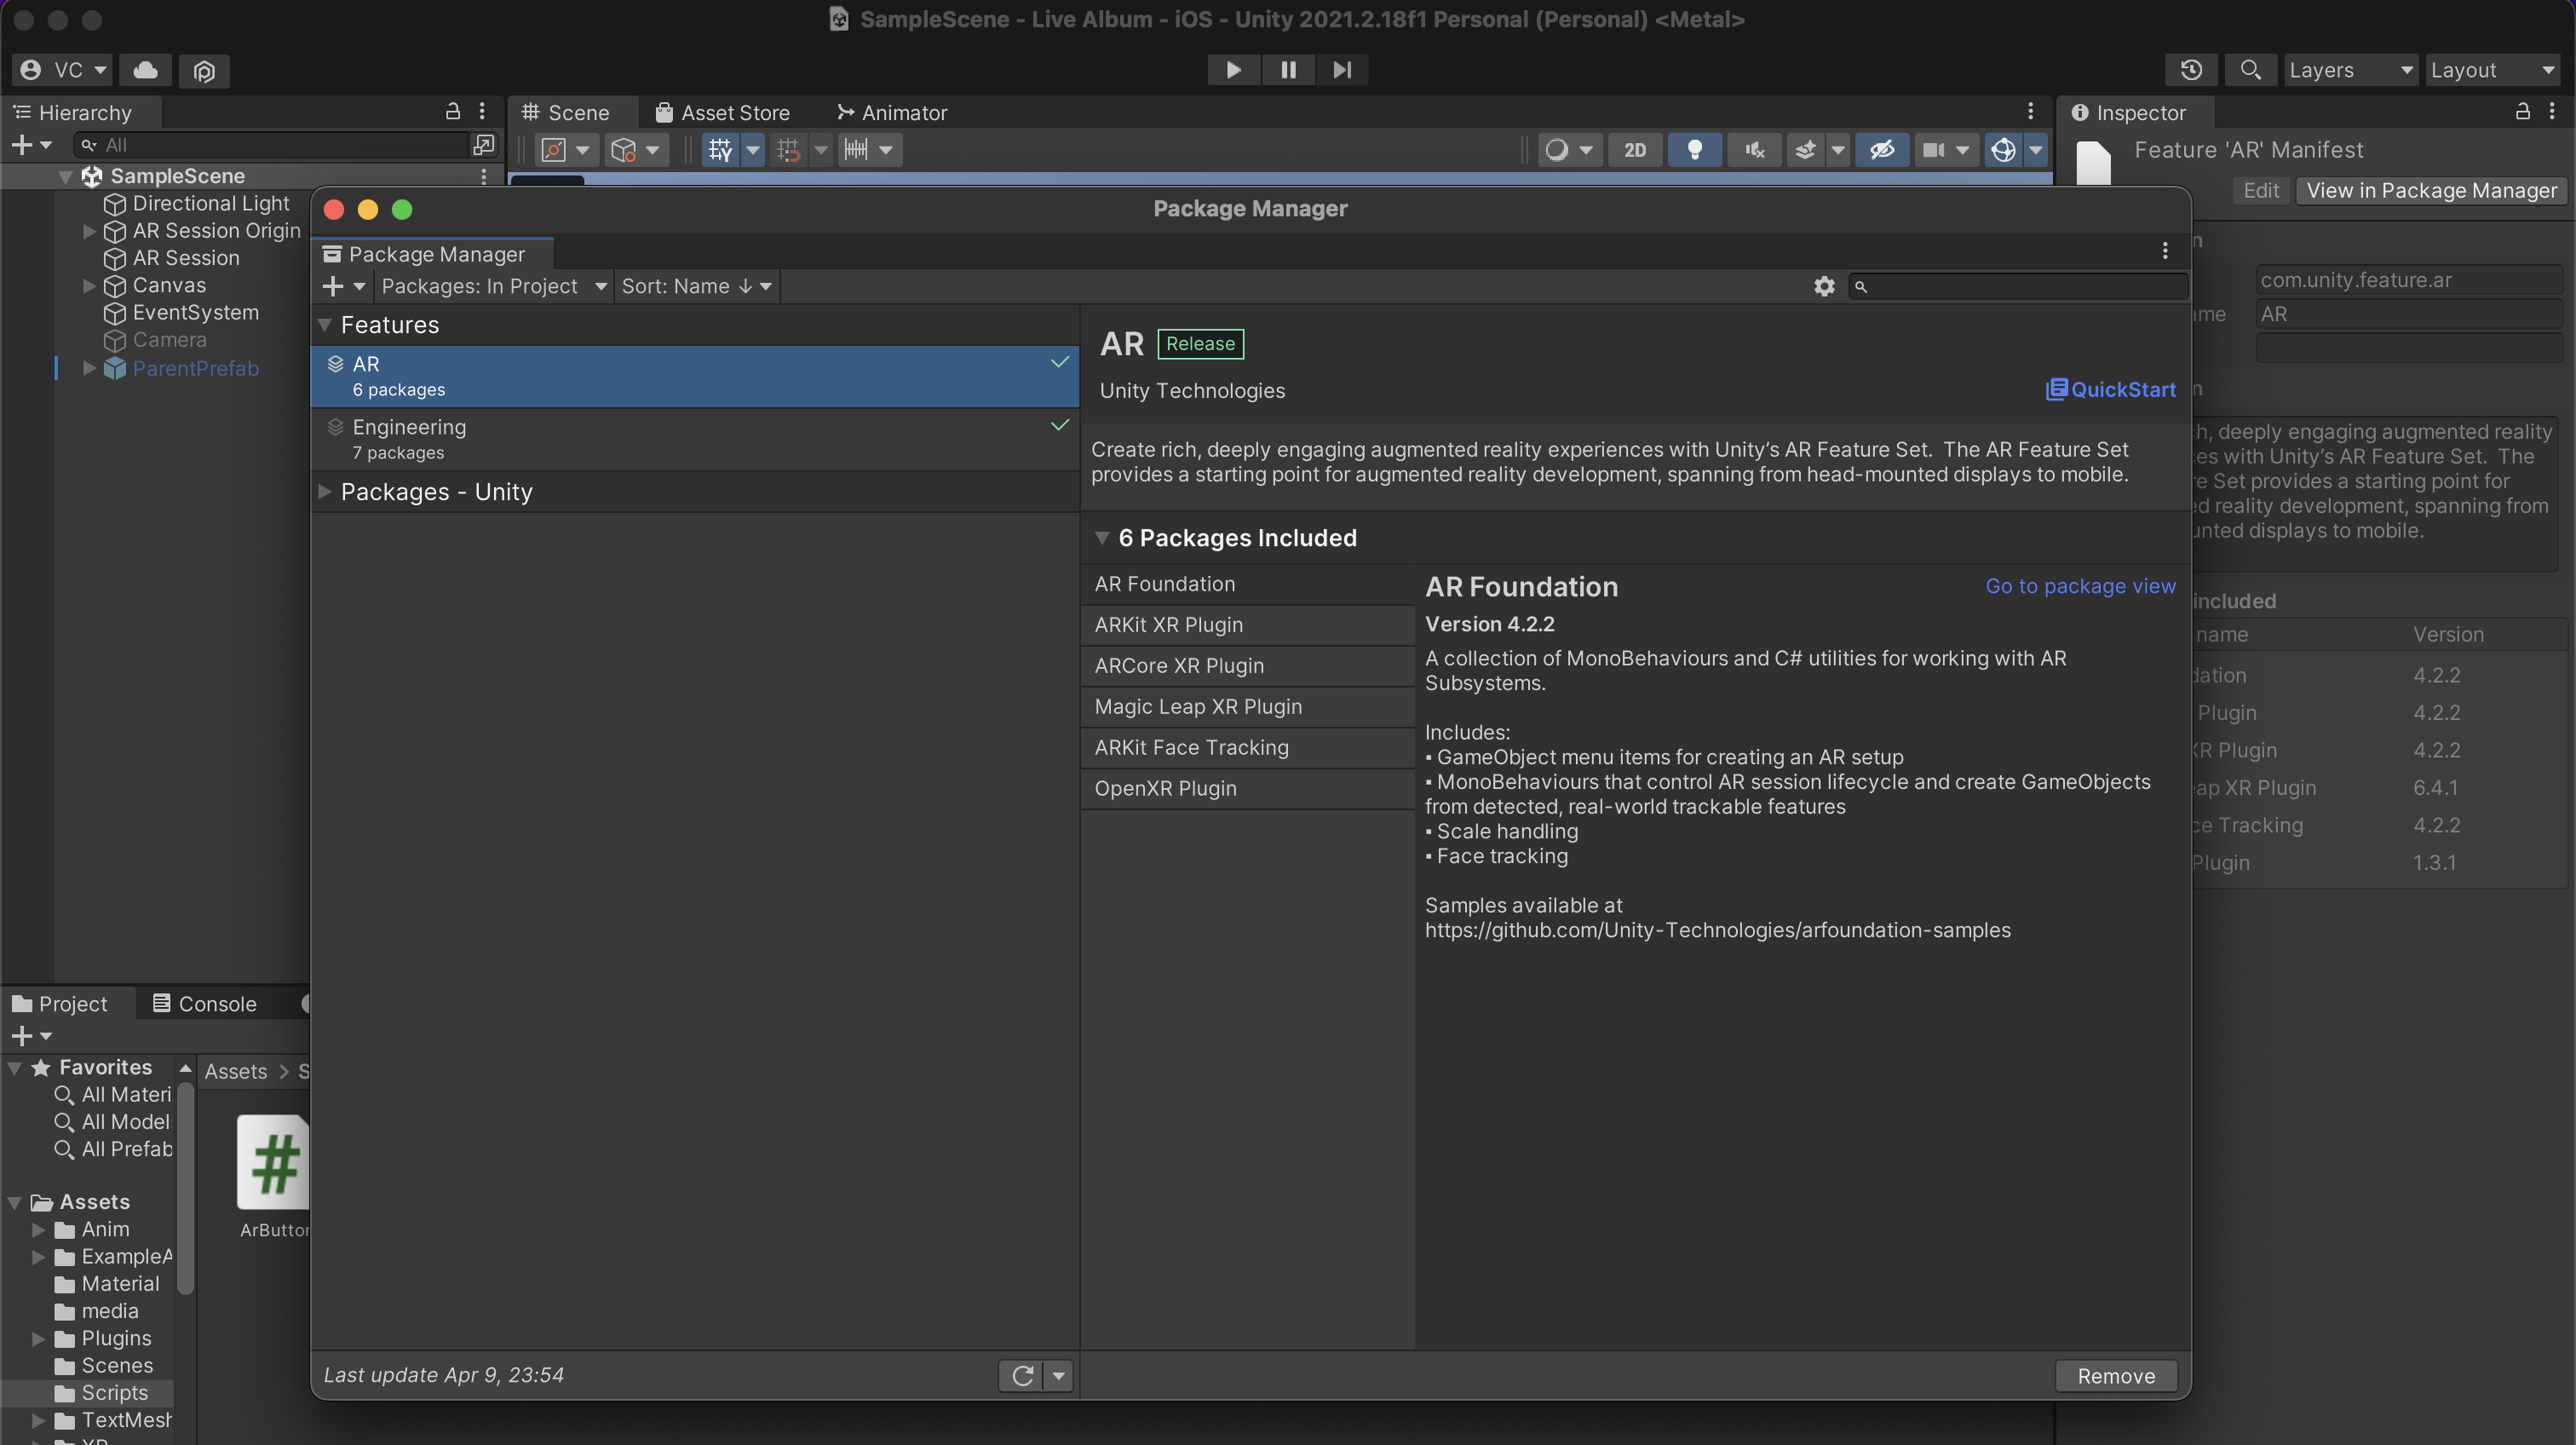
1 - Open your project and inside the package manager, install the AR Foundation package:
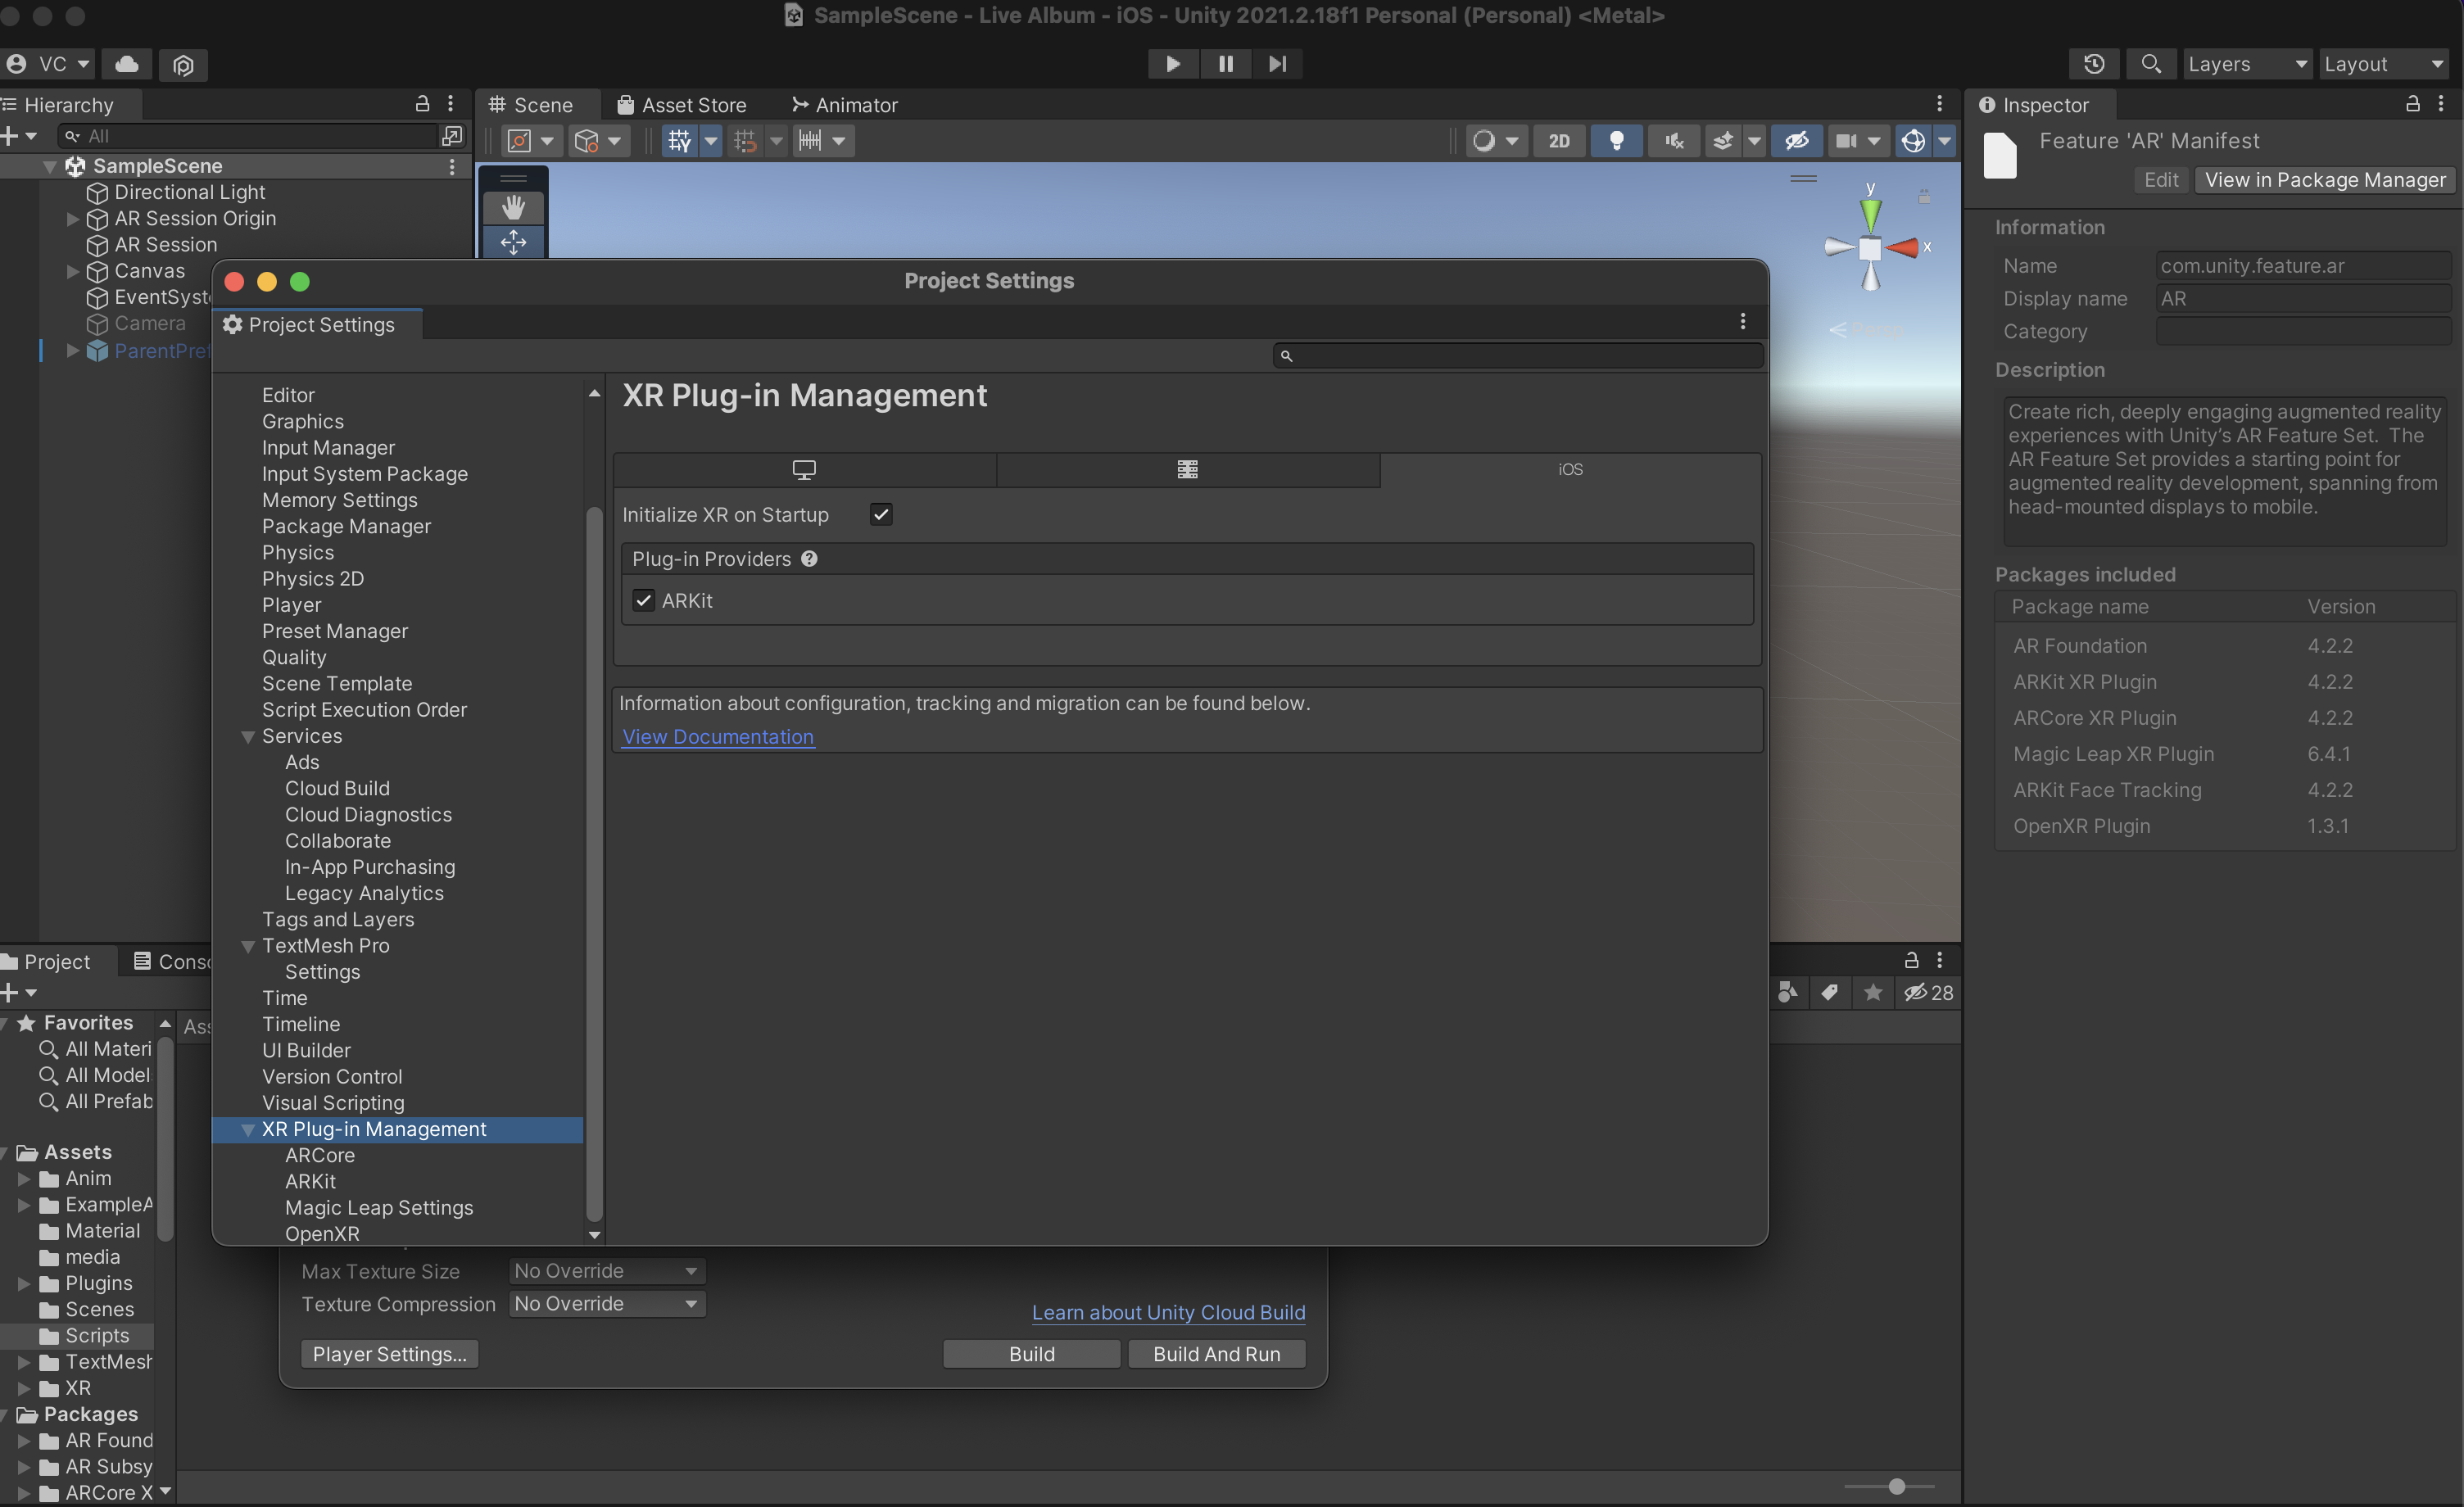
2 - On Player Settings, check the plug-in providers (ARKit for IOS or ARCore for Android)
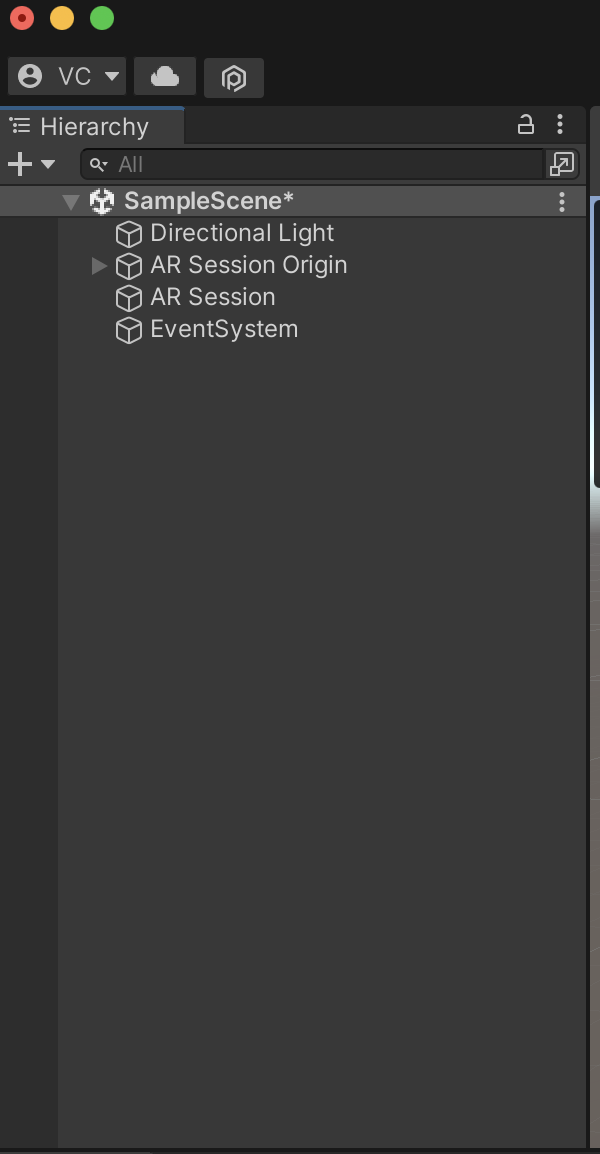
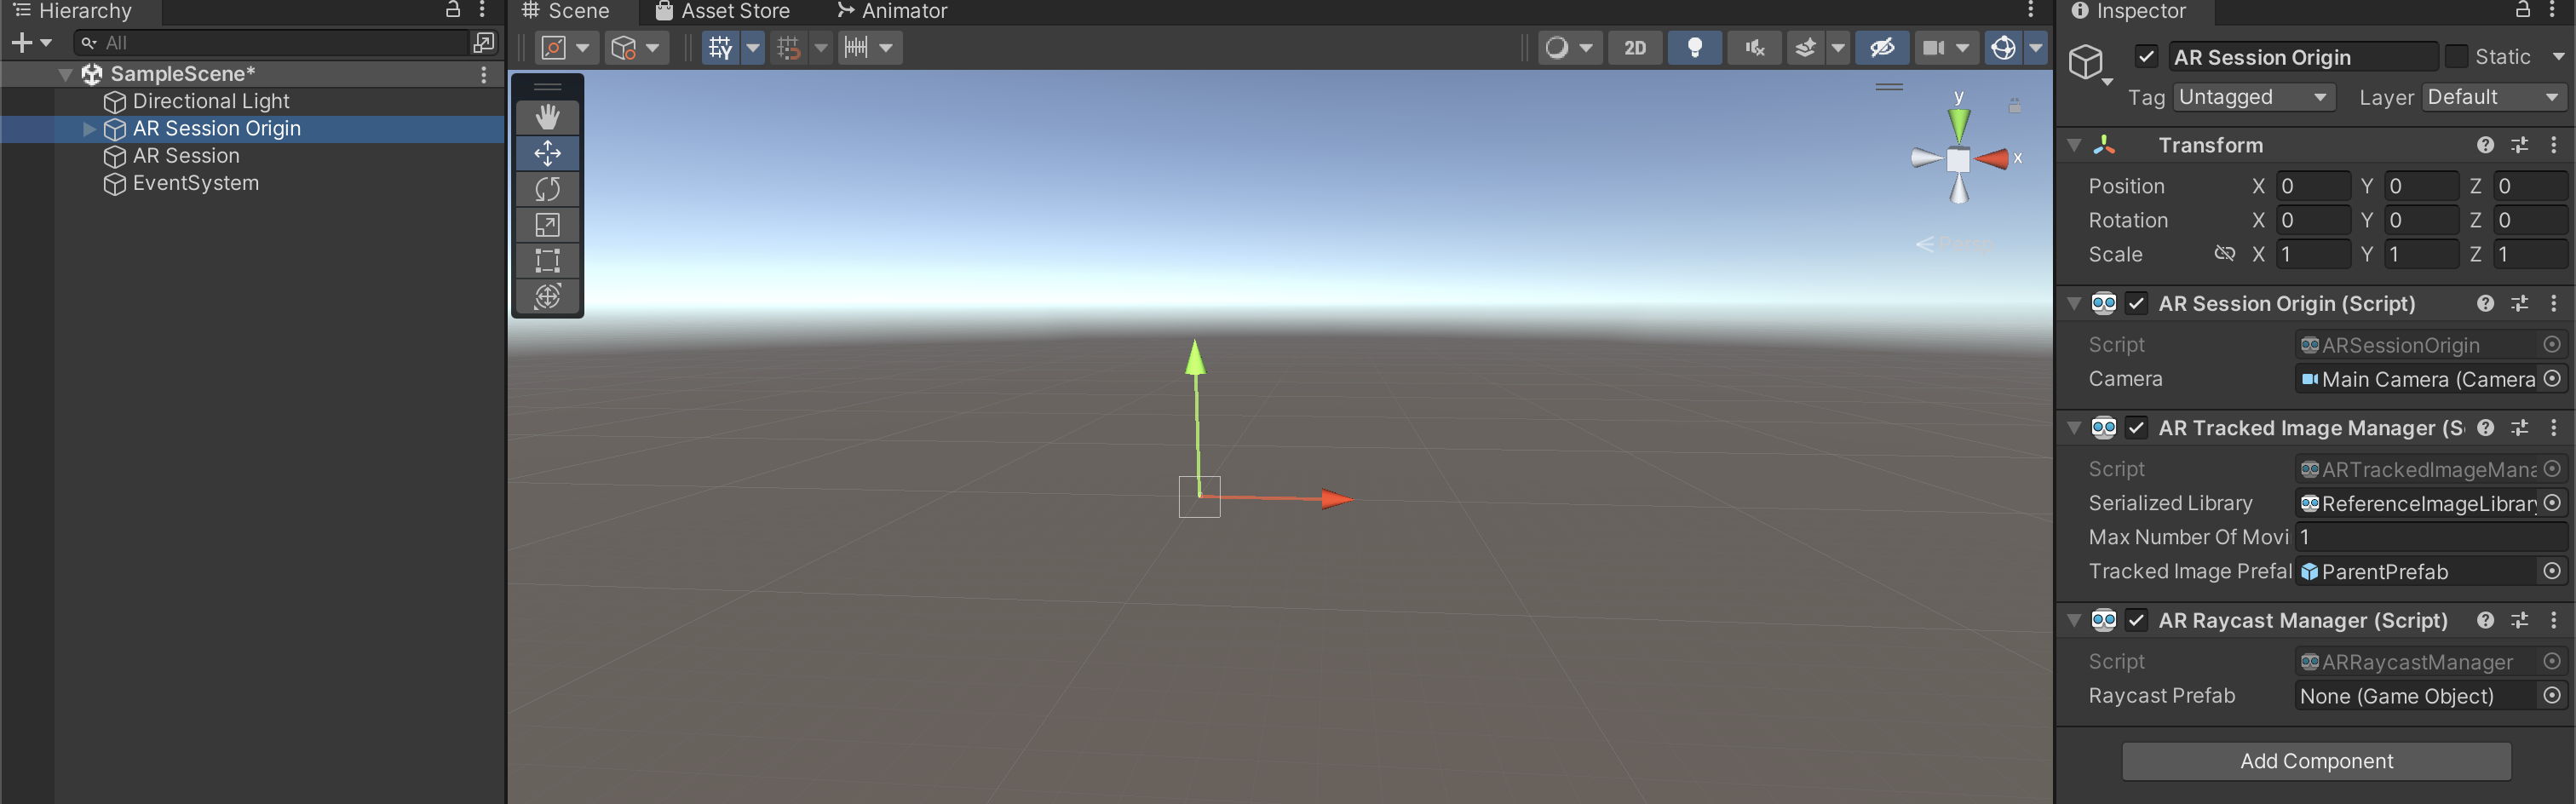
3 - Setup the scene for AR:
4 - Create a ParentPrefab and inside it, a plane and a VideoPlayer object with a Video Player component;
5 - Use the image to be tracked as the plane's material;
6 - Create a 3D button inside the ParentPrefab, containing a Sphere with glass material and two text mesh pro elements for the play/pause symbols;
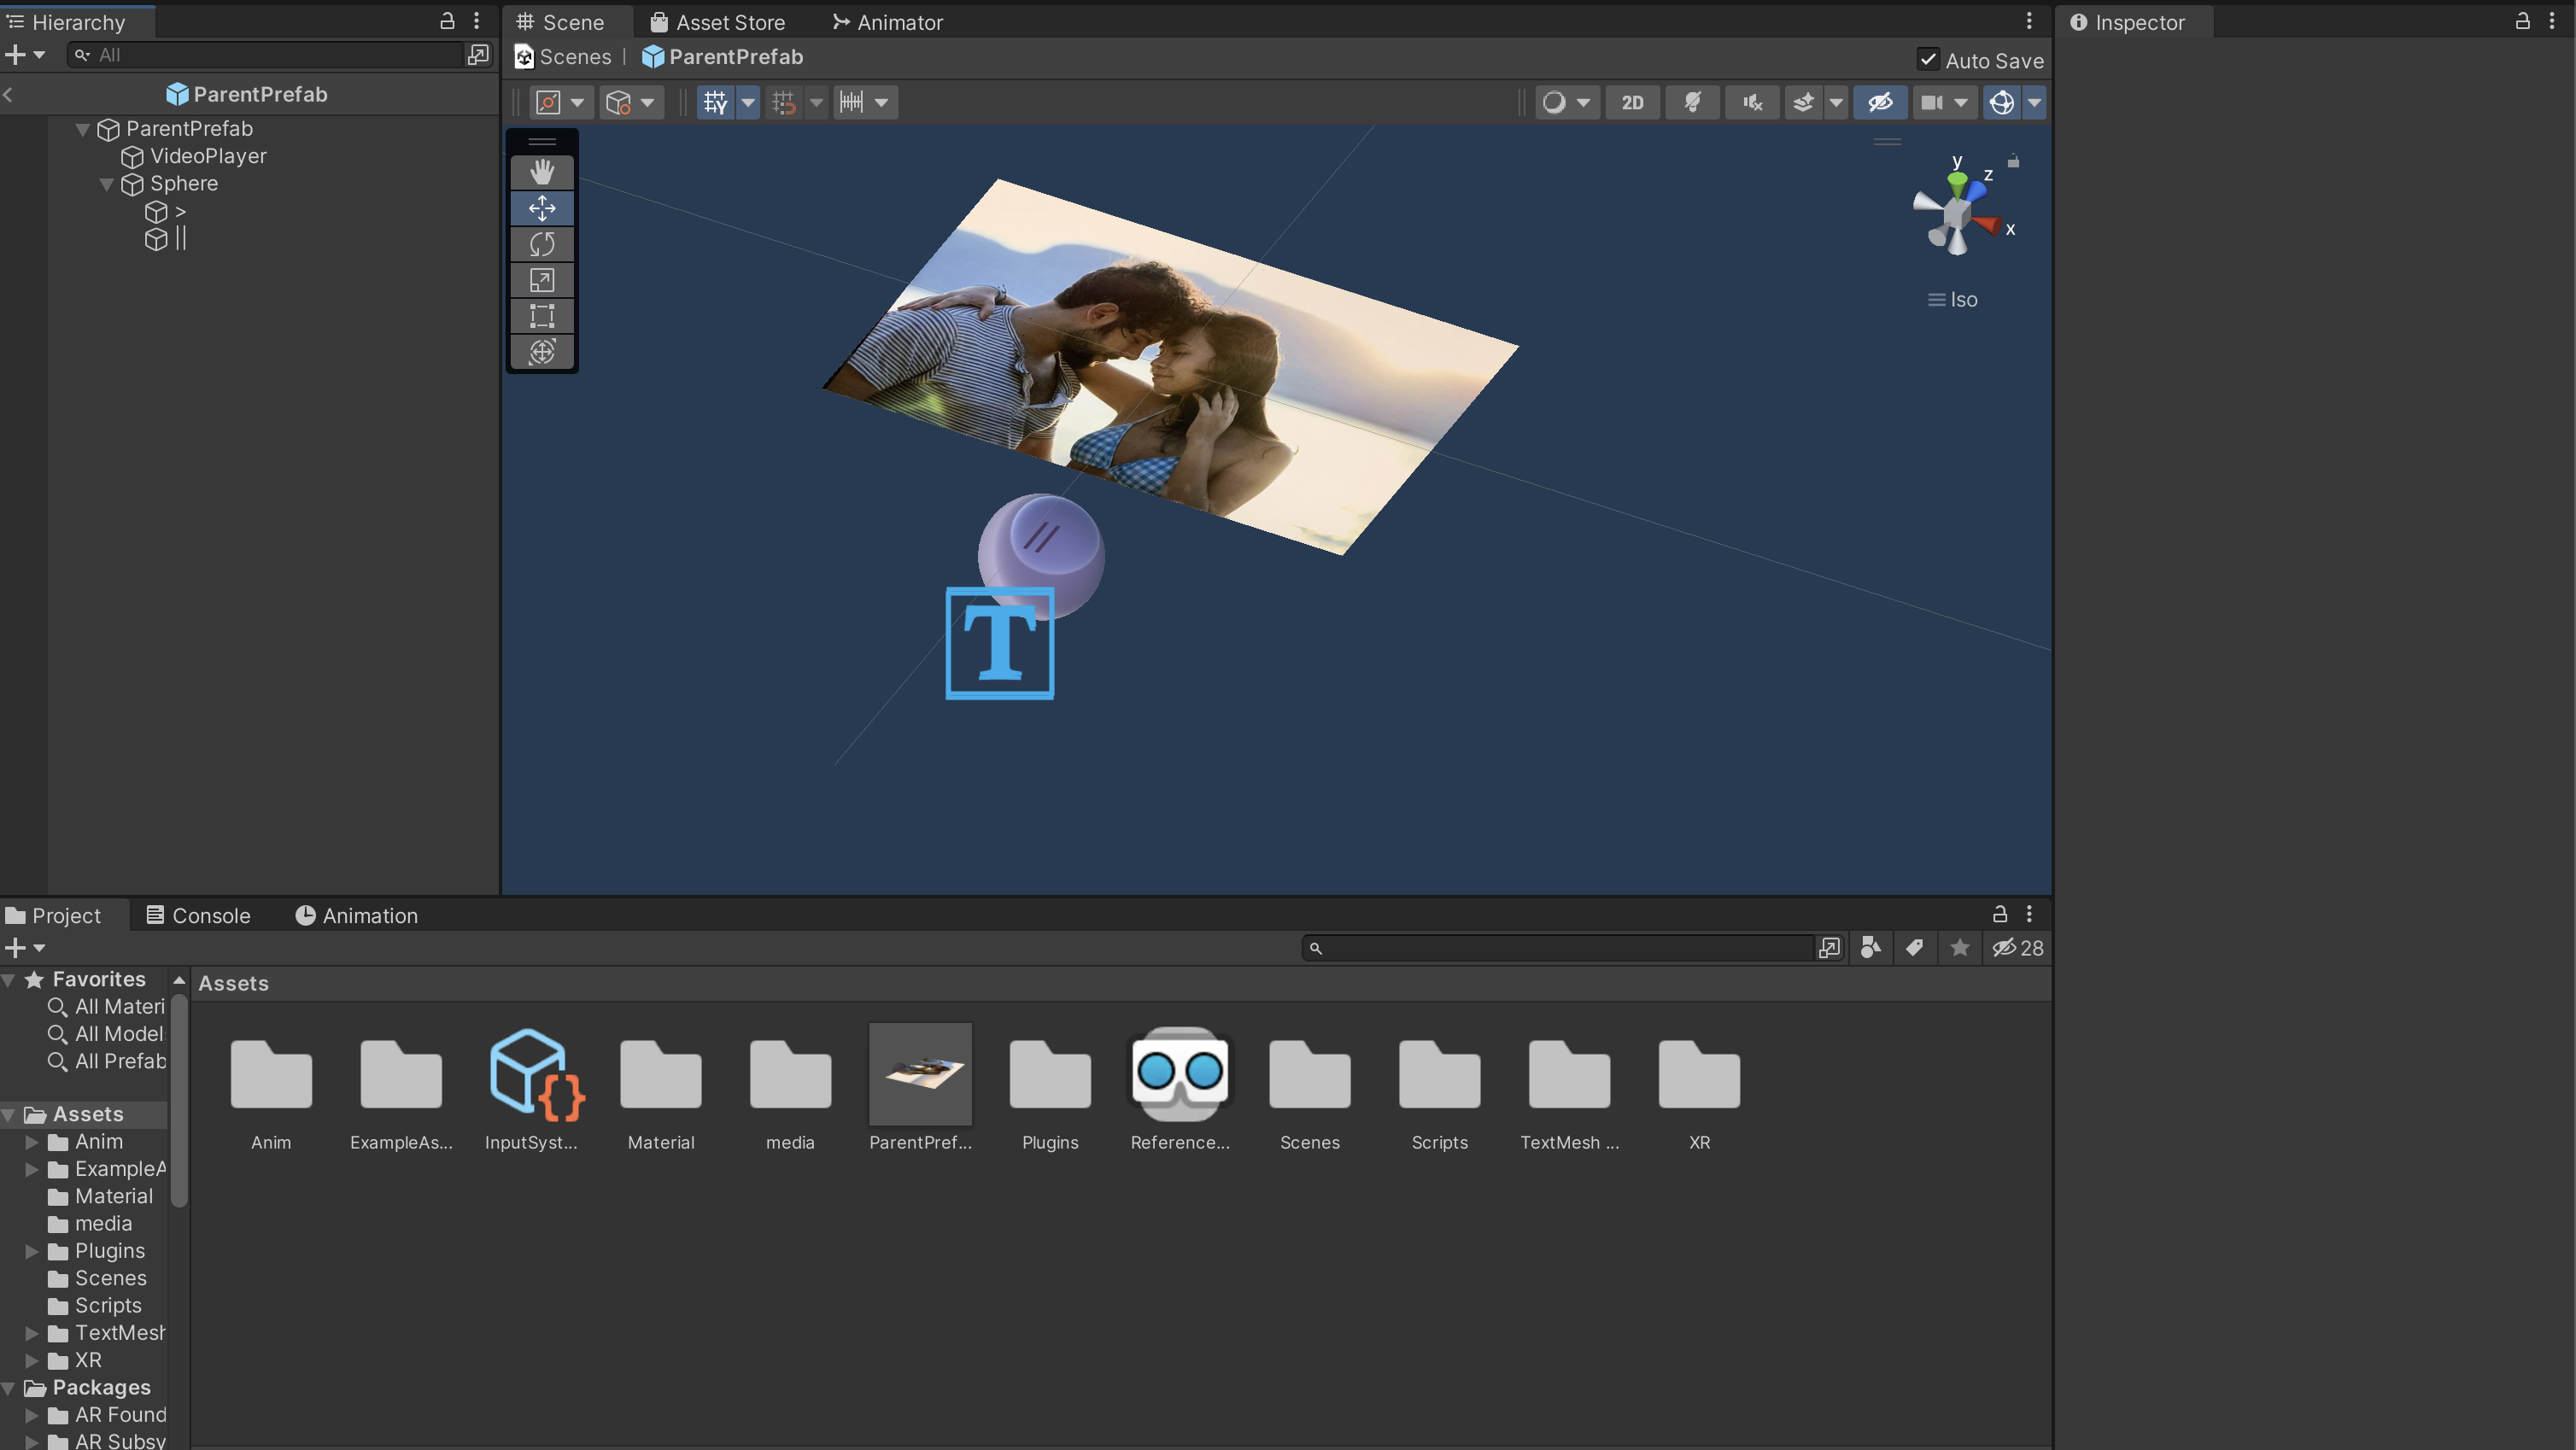
7 - Create the animations for the Play/Pause functions and add the VideoAnimControl script to the ParentPrefab;
8 - Add the Ar Button Script to the Sphere object and set VideoPlayer as the Vp element;
9 - Create a canvas with a a button. Set ARSession.Reset to it (so you can restart the tracking session)
10 - Create a XRReferenceImageLibrary, referencing it to the image to be tracked. Add it as the Serialized Library, in the AR Tracked Image Manager (AR Session Origin).
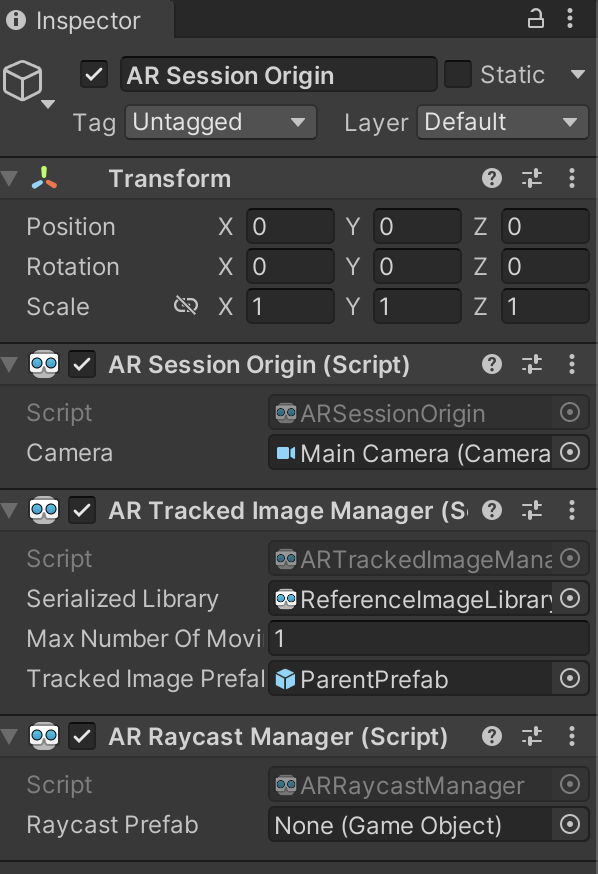
*Create a XRReferenceImageLibrary
To iterate the idea, you can create a multiple prefab / multiple tacked images version. Soon I will update the project with the possibility for the user to upload the media (images to be tracked and videos)
- Play/Pause Button
- Multiple images and videos
- User friendly
Contributions are what make the open source community such an amazing place to learn, inspire, and create. Any contributions you make are greatly appreciated.
If you have a suggestion that would make this better, please fork the repo and create a pull request. You can also simply open an issue with the tag "enhancement". Don't forget to give the project a star! Thanks again!
- Fork the Project
- Create your Feature Branch (
git checkout -b feature/AmazingFeature) - Commit your Changes (
git commit -m 'Add some AmazingFeature') - Push to the Branch (
git push origin feature/AmazingFeature) - Open a Pull Request
Distributed under the MIT License. See LICENSE.txt for more information.
Reach out - Victor Cappa @imaginar
Linkedin
Share the project - Live Album