In the previous section, we've worked on getting started with a new ML.NET application. In this section, we'll start writing code to load labeled Github issues that we're going to use to train our machine learning model.
We'll cover the following topics in this section:
- Preparing the dataset
- Creating the input and output for the model
- Loading the dataset
Let's start preparing the data for the application.
We're going to be using Github issue data to build a model that predicts the correct label for issues. Using machine learning to label issues saves developers time categorizing issues in their open-source projects.
As with many sample applications, we're not going to use the Github API in any way. Instead, we'll use a dataset that we've prepared earlier for the project.
Later on we'll test our classifier on a simple website where you can copy/paste issue information for classification.
The dataset itself is a Tab-separated file that contains the following fields:
- ID
- Area
- Title
- Description
Our model is going to predict the value of the Area field. To predict the
value for this field, we'll use the Title and Description fields.
The Area field is the label column, while the Title and Description
columns are the features used by our model to make a prediction.
After downloading the dataset, place it in the Data folder within the solution
folder. You should now have a directory layout that looks like this:
github-issue-classifier
├───Data
├───Model
├───Trainer
└───Website
Next, we'll create a few classes that model the input and output of the model.
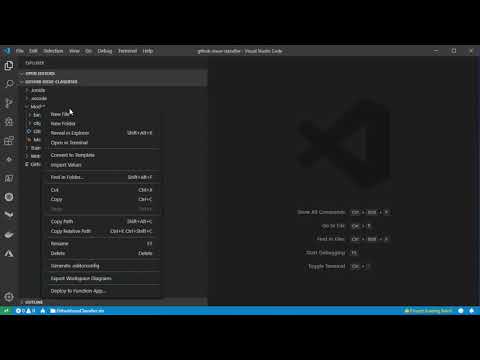
To train the model and make a prediction later, we need to map the input and output data to a class.
We're going to create two classes:
- GithubIssue - The representation of a Github issue
- GithubIssuePrediction - The representation of the output of the model
Let's start with the GithubIssue class.
Open up Visual Studio Code or Visual Studio and add a new file GithubIssue.cs
to the Model project. Copy-paste the code below into this file:
using Microsoft.ML.Data;

namespace GithubIssueClassifier.Model
{
    public class GithubIssue
    {
        [LoadColumn(0)]
        public string ID { get; set; }

        [LoadColumn(1)]
        public string Area { get; set; }

        [LoadColumn(2)]
        public string Title { get; set; }

        [LoadColumn(3)]
        public string Description { get; set; }
    }
}
This class contains the following properties:
- ID - The ID of the issue
- Area - The product area that should fix the issue
- Title - The title of the issue
- Description - The description of the issue
Notice, how this maps precisely to the dataset that we're using.
After creating the GithubIssue class, we need to create a
GithubIssuePrediction class. Create a new file in the Model project called
GithubIssuePrediction.cs and paste the following code into the new file.
using Microsoft.ML.Data;

namespace GithubIssueClassifier.Model
{
    public class GithubIssuePrediction
    {
        [ColumnName("PredictedLabel")]
        public string Area { get; set; }

        public float[] Score { get; set; }
    }
}
This class contains the following properties:
- Area - The predicted area for the issue
- Score - The score for each different label that the model can predict
Now that we have the input and output for the model let's load up the dataset and see what it looks like in our training program.
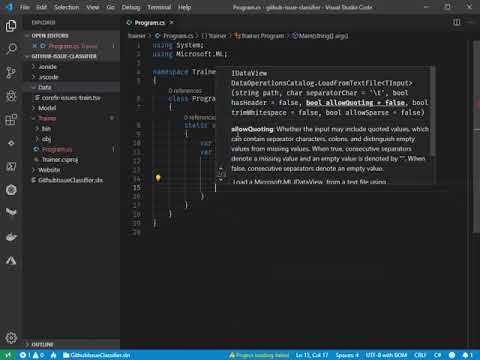
ML.NET uses data views to model data coming from a data source. You can choose
to either load data from text files or from a data source that supports
IEnumerable<T>.
In this section, we're going modify the Trainer project to load data from a
text file and generate a preview for the data in the terminal.
ML.NET doesn't supply you with a data source for SQL Server or another database.
However, it makes it easy to load data from these data sources thanks to the
support for IEnumerable<T>. We're not going to zoom in on this during the
tutorial, but know that it is possible to use a database.
Start by opening the Program.cs file in the Trainer project and add the
following code to the Main method of the application:
var mlContext = new MLContext();
var dataView = mlContext.Data.LoadFromTextFile<GithubIssue>(
    "../Data/corefx-issues-train.tsv",
    separatorChar: '\t',
    hasHeader: true,
    allowSparse: false);
The code does the following:
- Create a new machine learning context
- Load the dataset from the text file
We've specified that the trainer should use a tab-character as separator and skip the header row in the input file. Also, we've made sure that it doesn't load sparse data. We don't want that in our application at this point.
You can run the application if you wish. When running the application, you should see no output or errors.
Once the data is loaded, we can preprocess it for training a model.
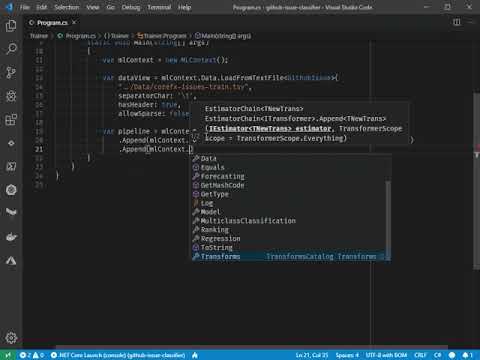
The final step in this section of the tutorial is to preprocess the data so that we can train a model with it.
Open up the Program.cs file and add the following code to the end of the
Main method.
var pipeline = mlContext.Transforms.Conversion.MapValueToKey("Label", "Area")
    .Append(mlContext.Transforms.Text.FeaturizeText("TitleFeaturized", "Title"))
    .Append(mlContext.Transforms.Text.FeaturizeText("DescriptionFeaturized", "Description"))
    .Append(mlContext.Transforms.Concatenate("Features", "TitleFeaturized", "DescriptionFeaturized"))
    .AppendCacheCheckpoint(mlContext);
This code does the following:
- Convert the area property to a key so that we can use it as the predicted output.
- Convert the title into a featurized column, splitting the text in separate words.
- Convert the description into a featurized column, splitting the text into separate words.
- Convert the TitleFeatured + DescriptionFeaturized columns into a single column
- Adding a caching checkpoint so training is a little faster.
Caching can reduce the time it takes to train the model. However, it doesn't work for more massive datasets. So make sure that you're using this with caution. Leave it off by default.
The pipeline is an essential piece of machinery. We're going to use it to train the model later on and we'll also use it during prediction.
In this section, we've set up the boilerplate code to work with the model and the dataset. We've also loaded the dataset and made a machine learning pipeline for use during the next section.
In the next section, we'll cover how to train a machine learning model.